


In EPM cloud applications, such as PBCS and EPBCS, Oracle offers a great function, Smart Push, to synchronize data between cubes through webforms. Actually, not only for data part, comments, attachments, and supporting detail can be moved to multiple cubes as well. Let’s think about a real-life example, we just updated the revenue data in a revenue planning cube (BSO), and then we would like to check the consolidated result from a reporting cube (ASO) cube. Without using Smart Push, we need to run business rules or schedule a job to move data from BSO cube to ASO cube. With Smart Push, we are able to move data to a reporting cube immediately. Whenever a BSO webform is saved, we can ensure that the ASO cube is always consistent with the BSO cube.
Couple things we need to keep in mind about Smart Push:
- Smart Push works for: BSO to ASO, BSO to BSO
- Smart Push can be replaced by @XREF, @XWRITE and partitioning
- Whenever a target cube has a change in dimensionality, we must select the corresponding data map on the Data Maps page, and then click Actions and then Synchronize to refresh the data.
- Smart Push can run from forms or on a scheduled job.
- Smart Push can copy data, comments, attachments, and supporting details.
Now, let’s set up a smart push. To set up smart push, generally speaking, we need to:
- Create Data Map
- Attach Data Map to webform
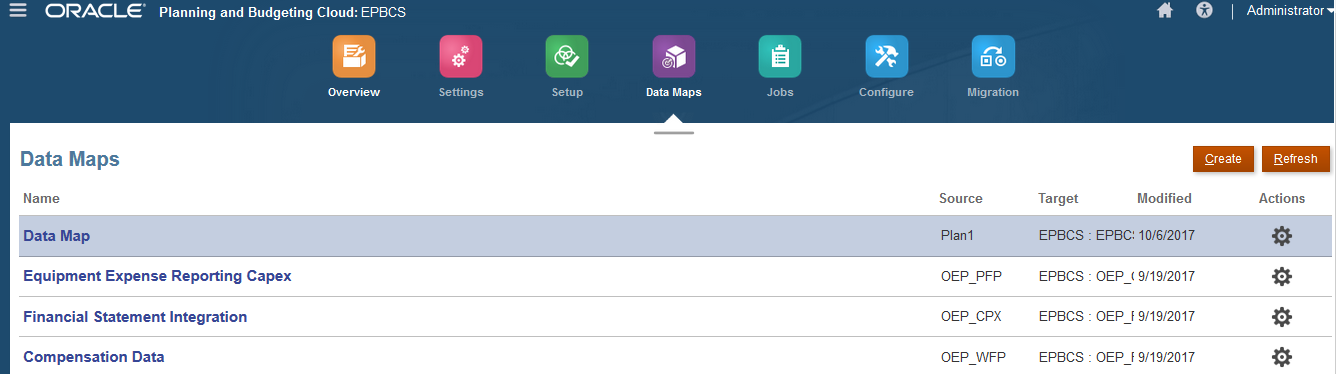
1.Create a Data Map
Go to the Data Maps section and create a new Data Map.
Select the Source Cube and the Target Cube. Then select the dimension members. In this case, the source cube is the BSO cube, Plan1 and the Target Cube is the ASO cube, EPBCS.
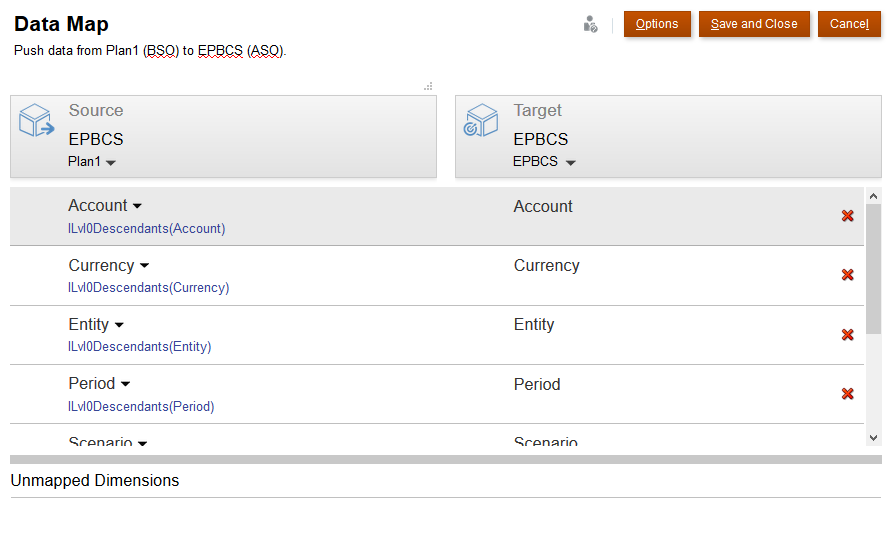
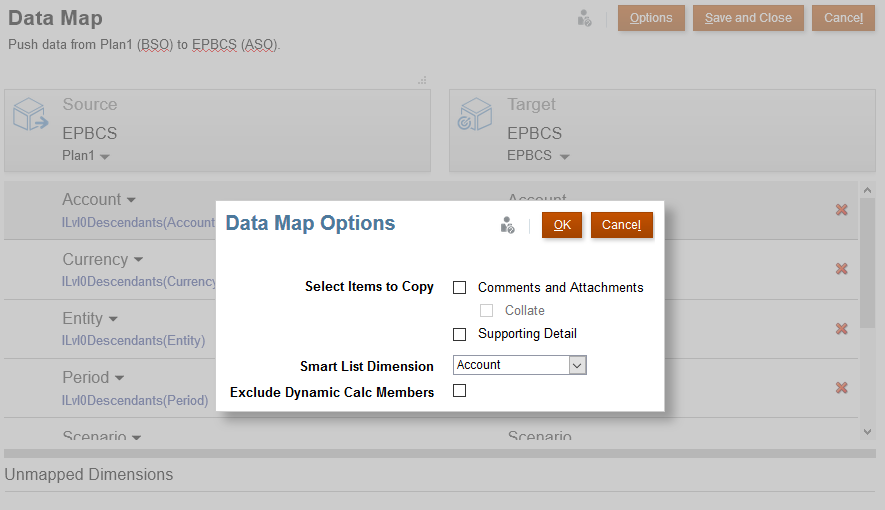
Click the Options button if you would like to copy Comments, Attachments and Supporting Detail.
Also, click the Actions we will see there are 5 options, Edit, Duplicate, Delete, Synchronize, Push Data. As we mentioned before, whenever a target cube has a change in dimensionality, we must select the corresponding data map on the Data Maps page, and then click Actions and then Synchronize to refresh the data.
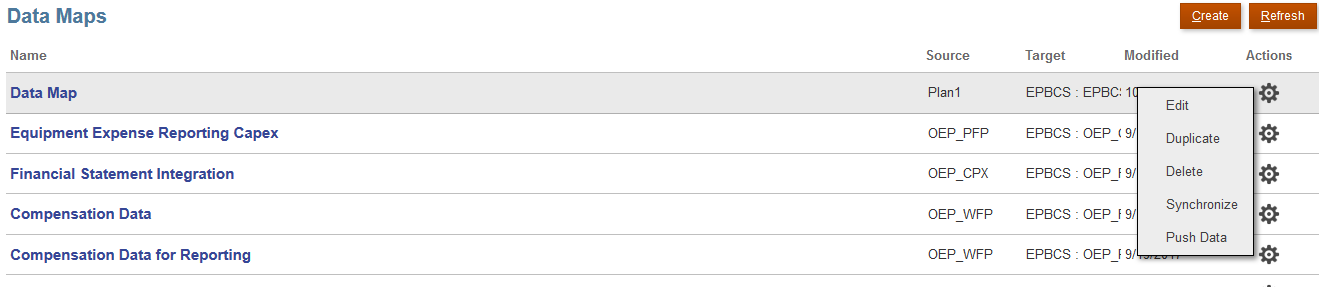
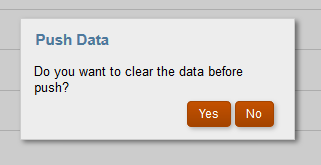
We can also trigger the Data Map job from here. If we click Push Data, it will ask us whether we would like to clear the data before push.
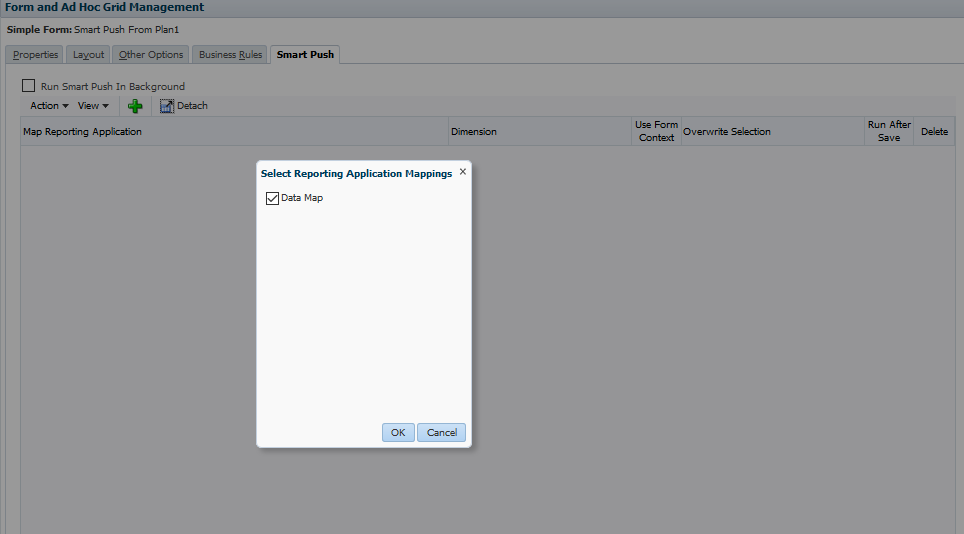
2.Attach the Data Map to a Form
Now we are going to create 2 data forms, one is Smart Push From Plan1 and the other is Smart Push To ASO Cube form.

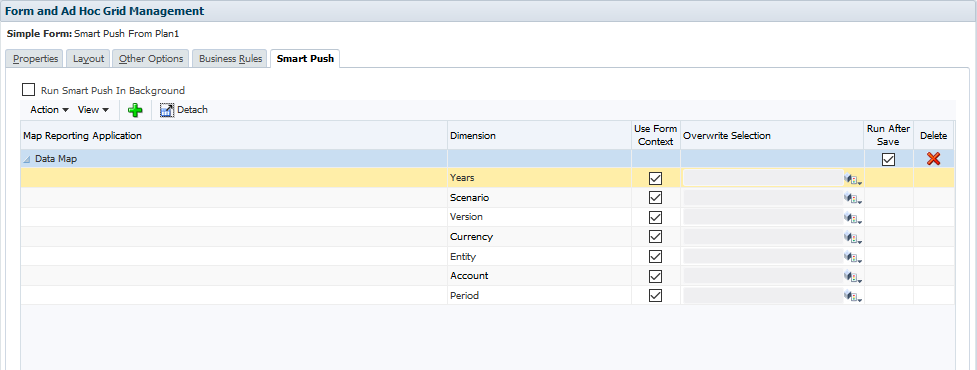
Then attach the Data Map to the Smart Push From webform.
Check the Run After Save box. We can a specify the members if we don’t want to use form context.
3.Test Smart Push
Then let’s test this Smart Push function. Open the Smart Push To webform. Check and make sure no data in the ASO cube.

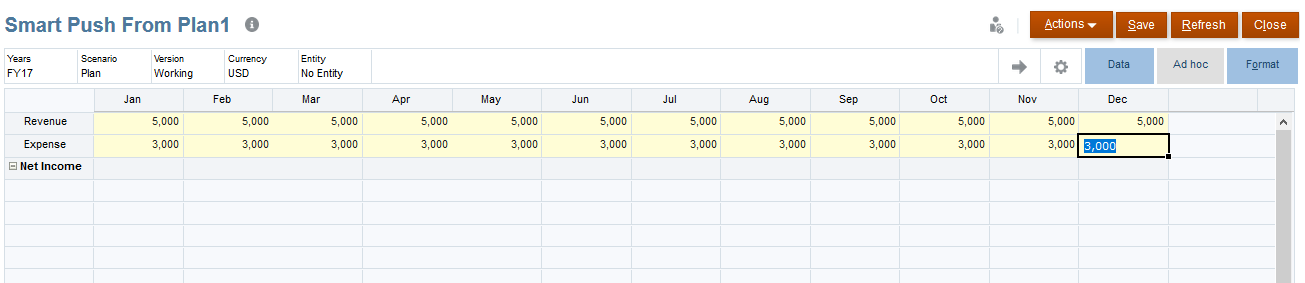
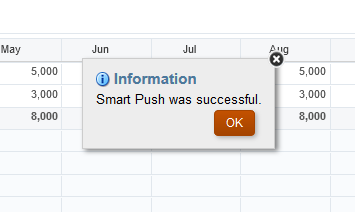
Open the Smart Push From webform. Submit data and click Save.
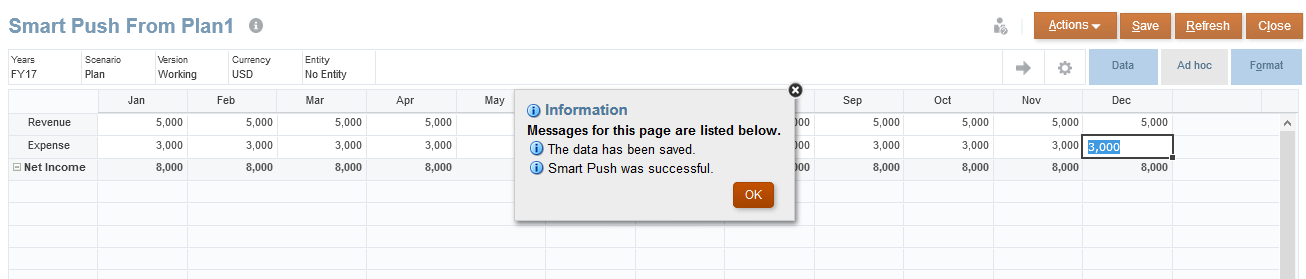
We will see that the data has been saved and Smart Push was successful.
Check the result from the Smart Push To webform. We notice that the data has been pushed to the ASO cube.

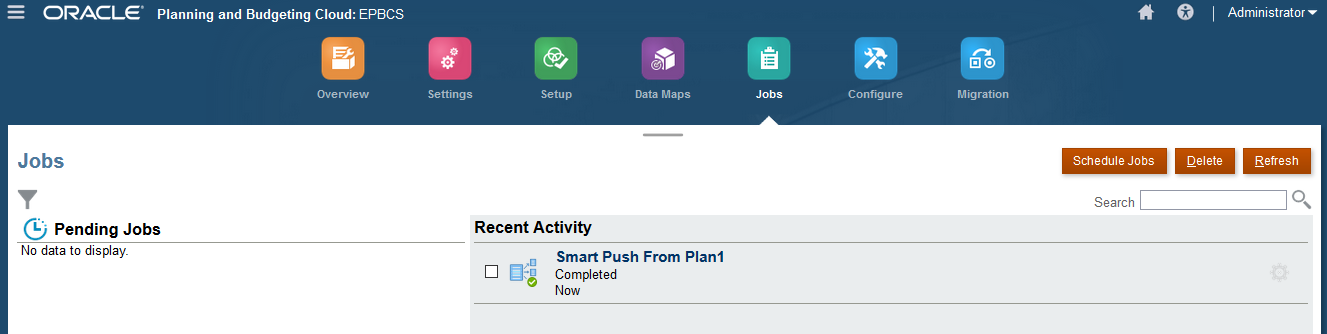
From the Jobs section, we can see the Smart Push job has run successfully.
If we don’t want to set the Smart Push job as Run After Save, we can trigger the job manually from the Actions section.
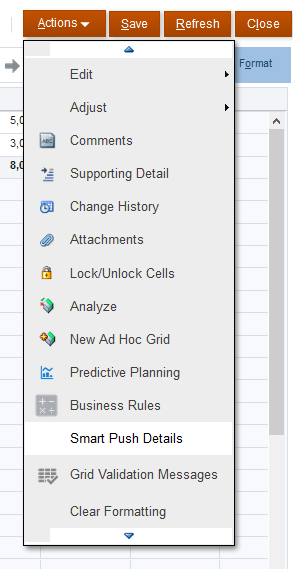
Click the Smart Push we would like to run.
We will get the same result as we did as Run After Save.
Alright, this is pretty much about the Smart Push function. Currently, Smart Push is only available for EPM Cloud. Hopefully, it will come to the on-premises Hyperion soon. Comparing with writing business rules, Smart Push is a much easier way to configure and maintain. Hope you have a better understanding on Smart Push now. See you next time.