


In this blog, I will walk through the Workforce prebuilt framework in Enterprise Planning Cloud (EPBCS), including how to configure the Workforce framework, and how to use this framework.
Before we start discussing the Workforce framework, hope you already had a chance to read the first article in this series.
EPM Cloud Lab – Configure Prebuilt Frameworks 1 – Financials
EPM Cloud Lab – Configure Prebuilt Frameworks 2 – Workforce
EPM Cloud Lab – Configure Prebuilt Frameworks 3 – Capital
EPM Cloud Lab – Configure Prebuilt Frameworks 4 – Projects
EPM Cloud Lab – Configure Prebuilt Frameworks 5 – Strategic Modeling
From the above blogs, you will get some high-level ideas and background knowledge on all of these prebuilt frameworks.
Configure Workforce Framework
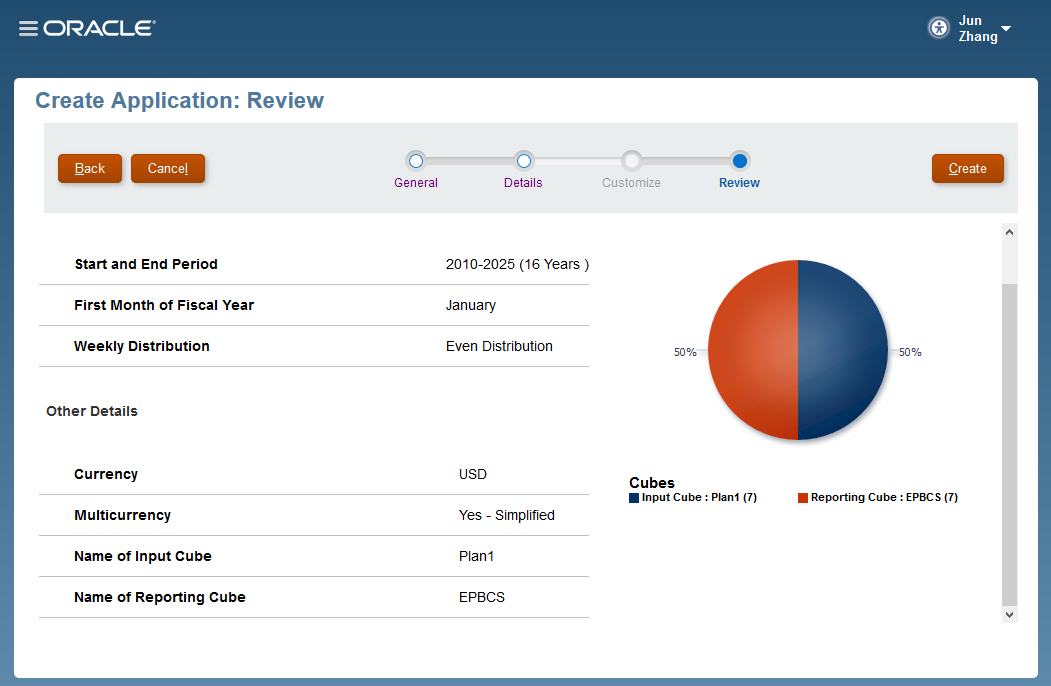
Firstly, let’s create an EPBCS application for Workforce.
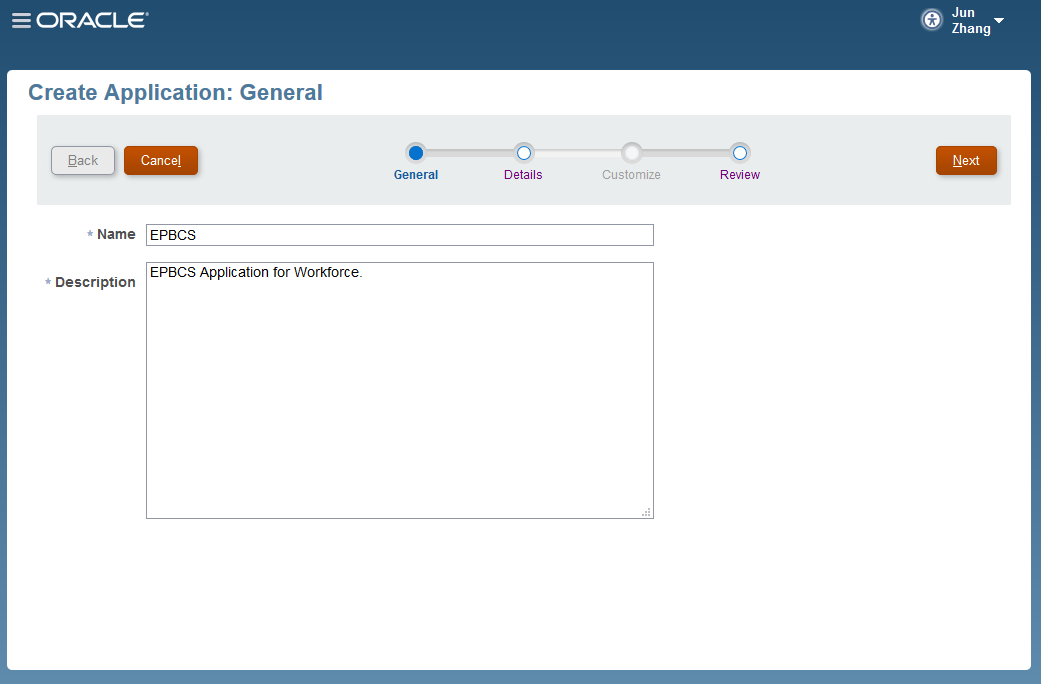
Select Multicurrency for this application.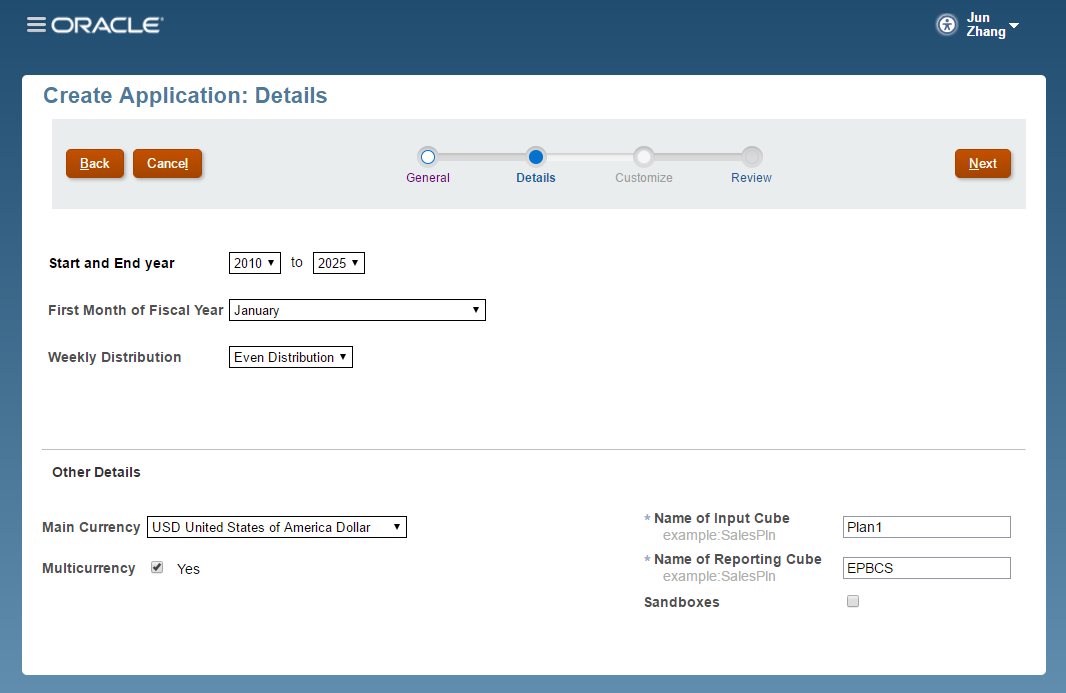
After creating the application, we are going to select Application -> Configure to configure the Workforce framework.
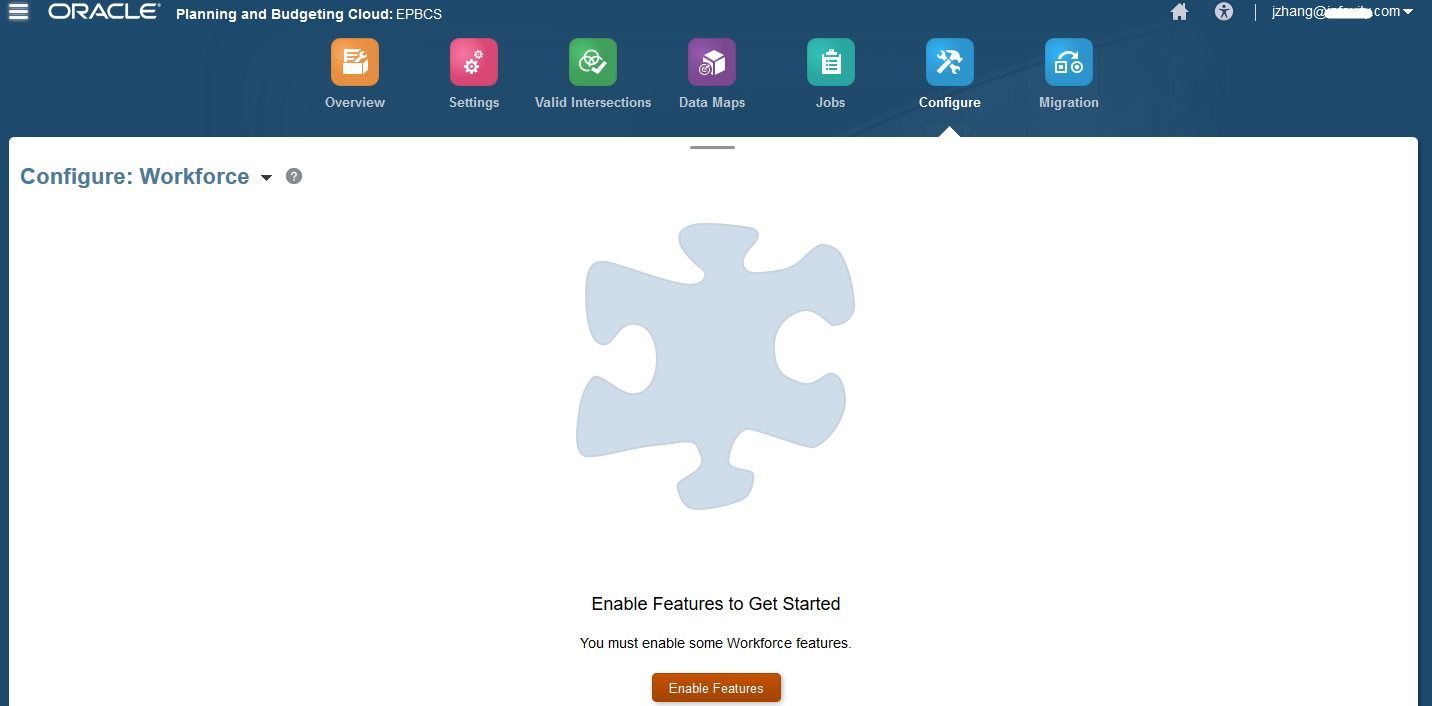
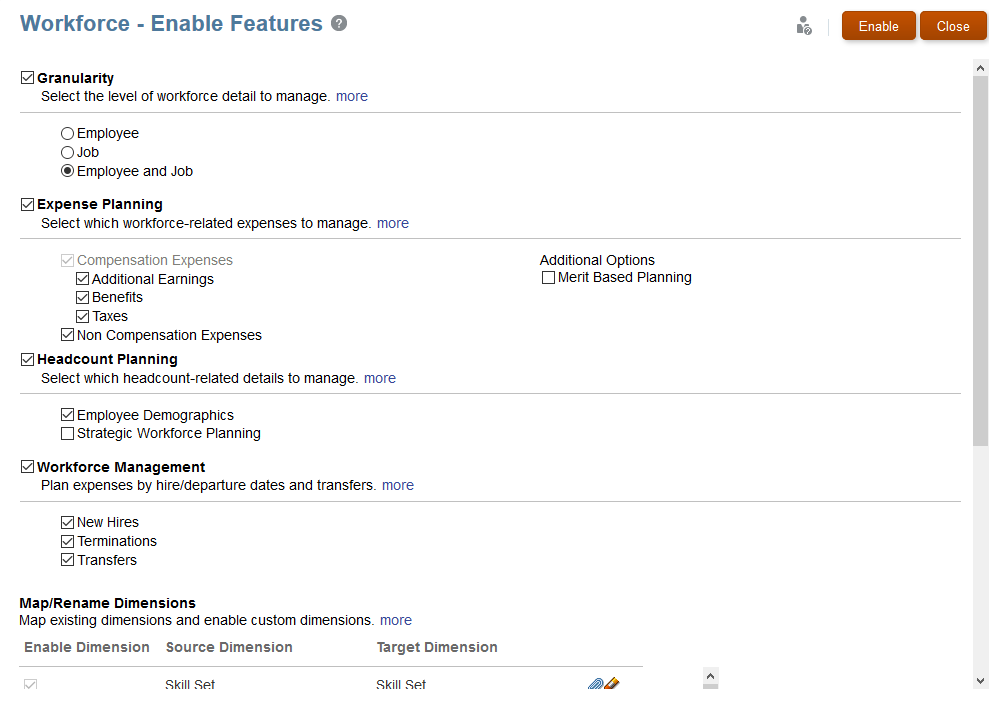
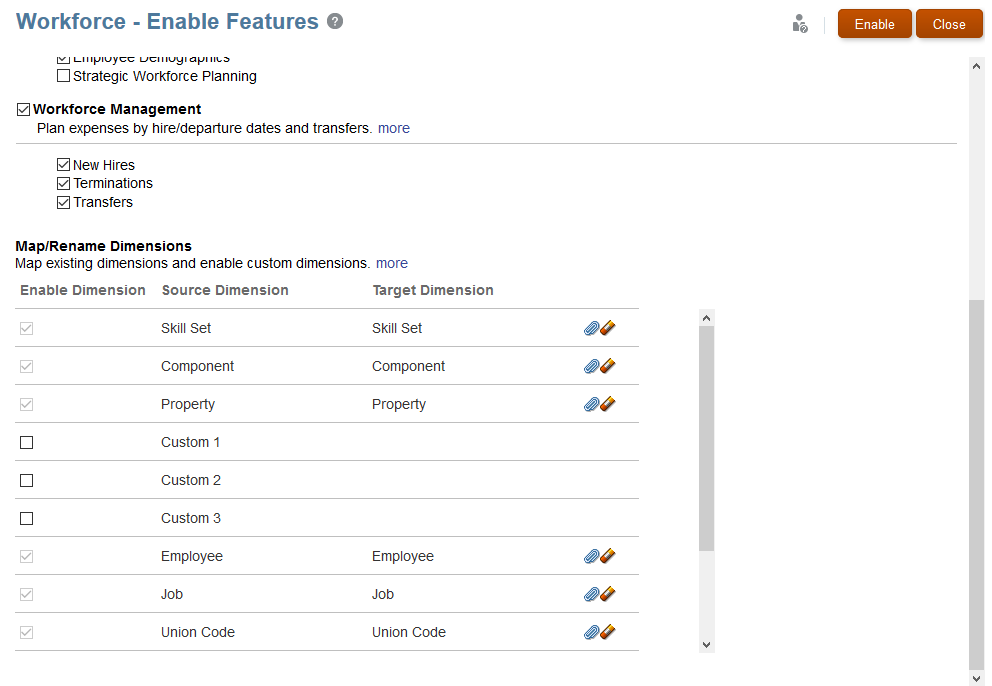
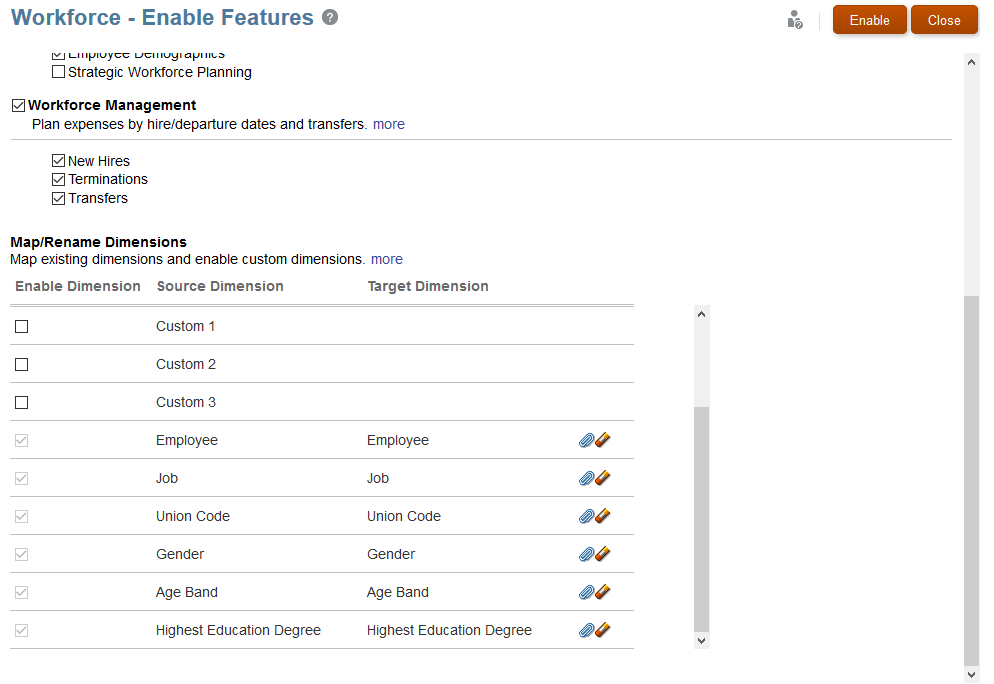
Click Enable Feature, then a new window will pop up, which allows us to select the detail features that we’d like to configure. In this case, I will select the following selections.
Then click Enable. After a few minutes, we will see a new window pop up. To see the new navigation flow for Workforce, we can either log off the application and re-login, or just simply reload the Navigation Flow.

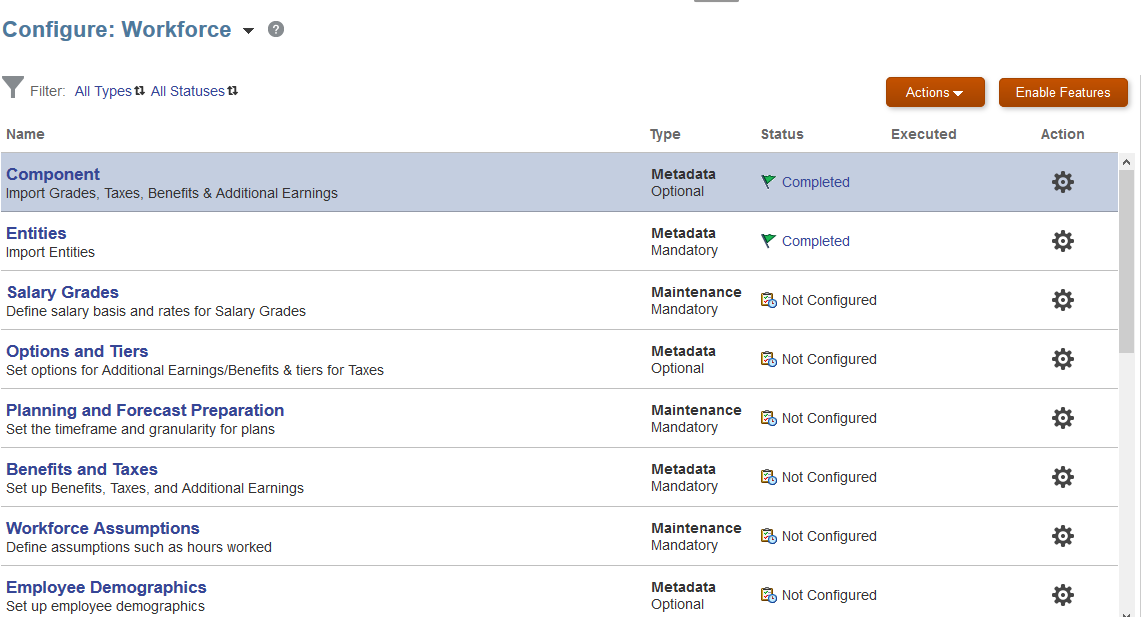
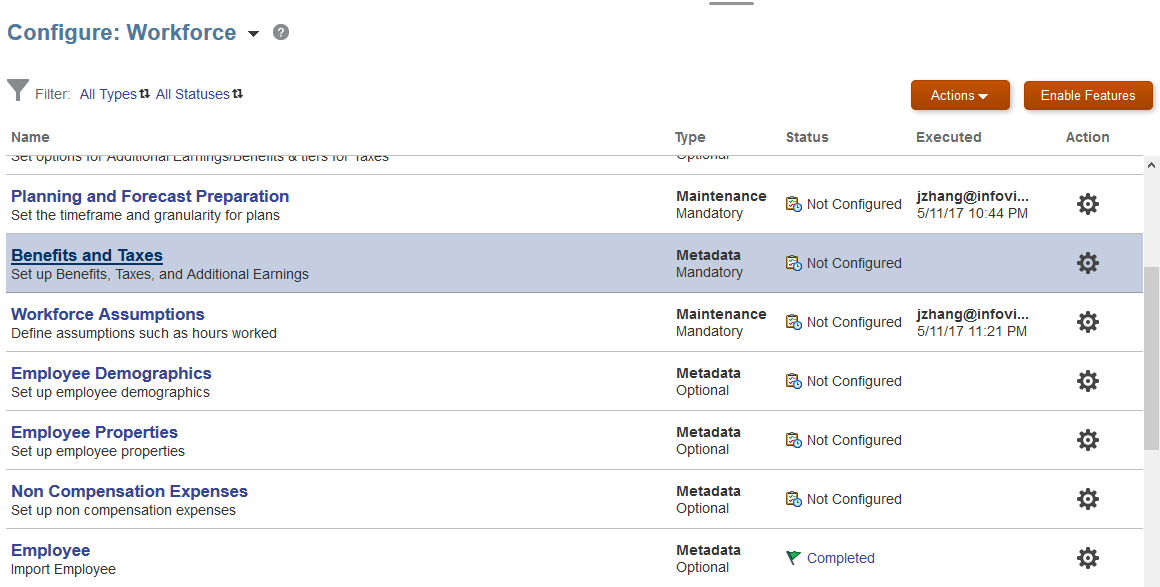
After the Enable step, we will see the following configure screen, where we could go and do metadata and data load, and other configuration functions
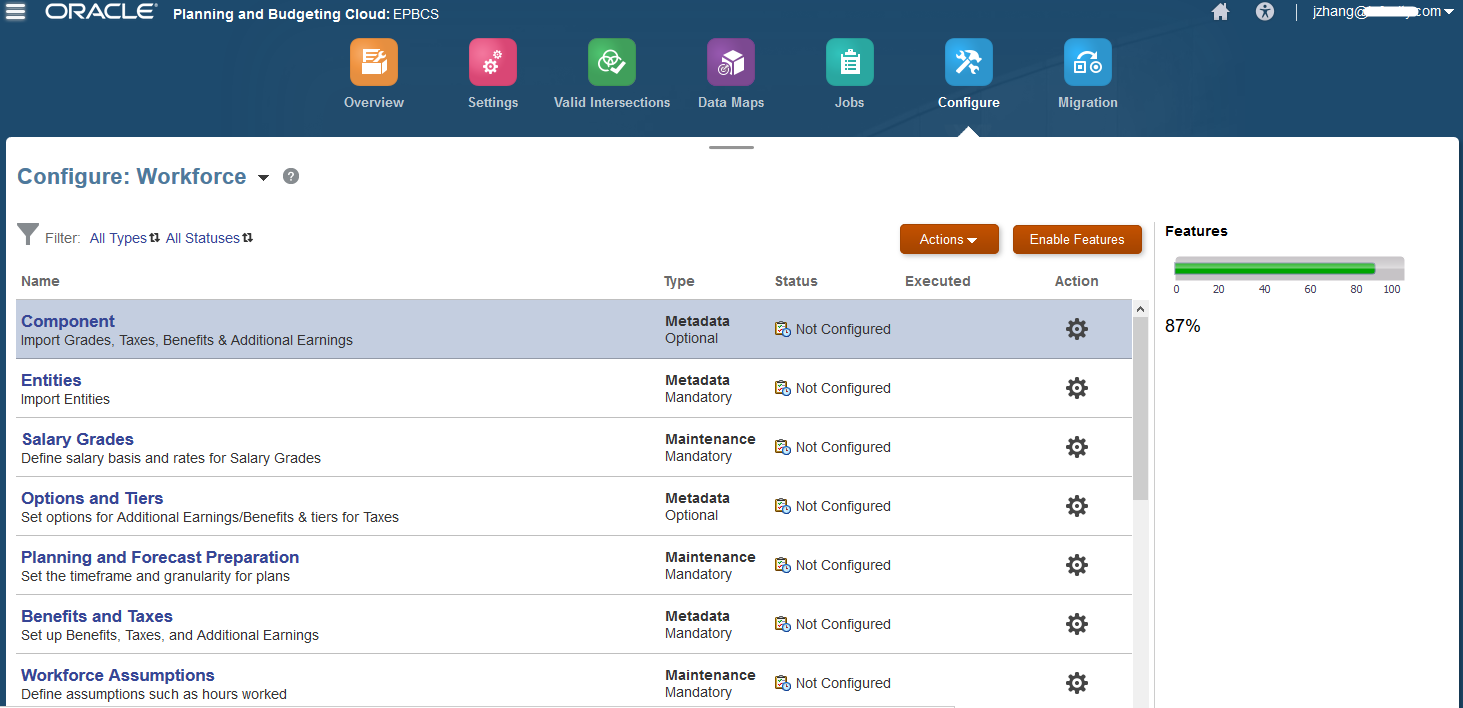
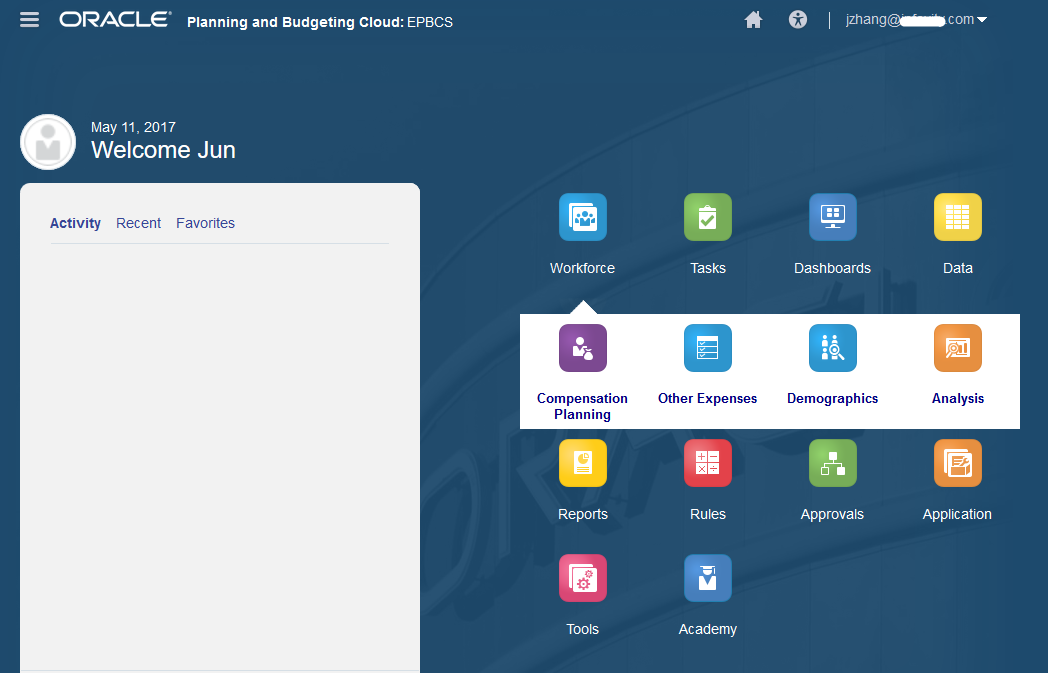
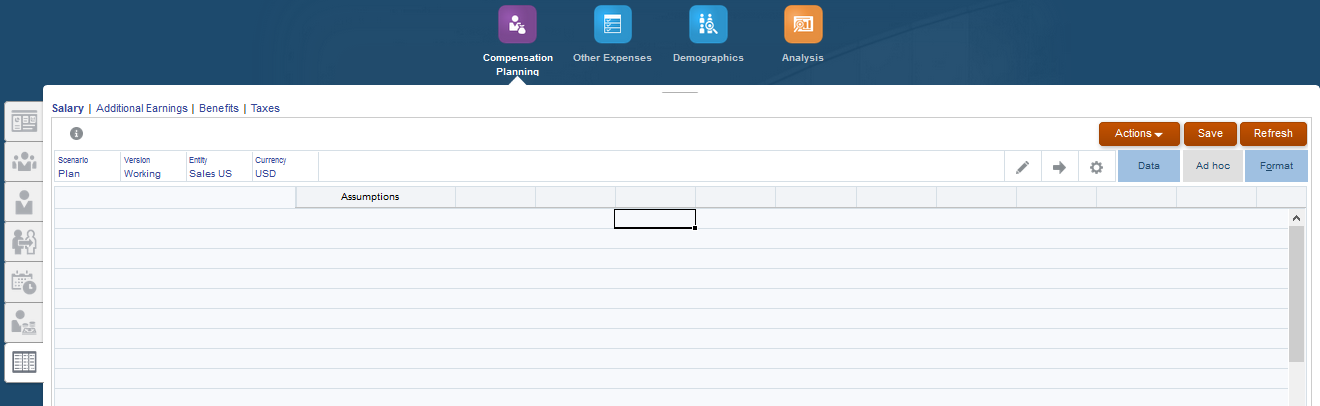
This new Workforce cluster contains 4 cards: Compensation, Other Expenses, Demographics, and Analysis.
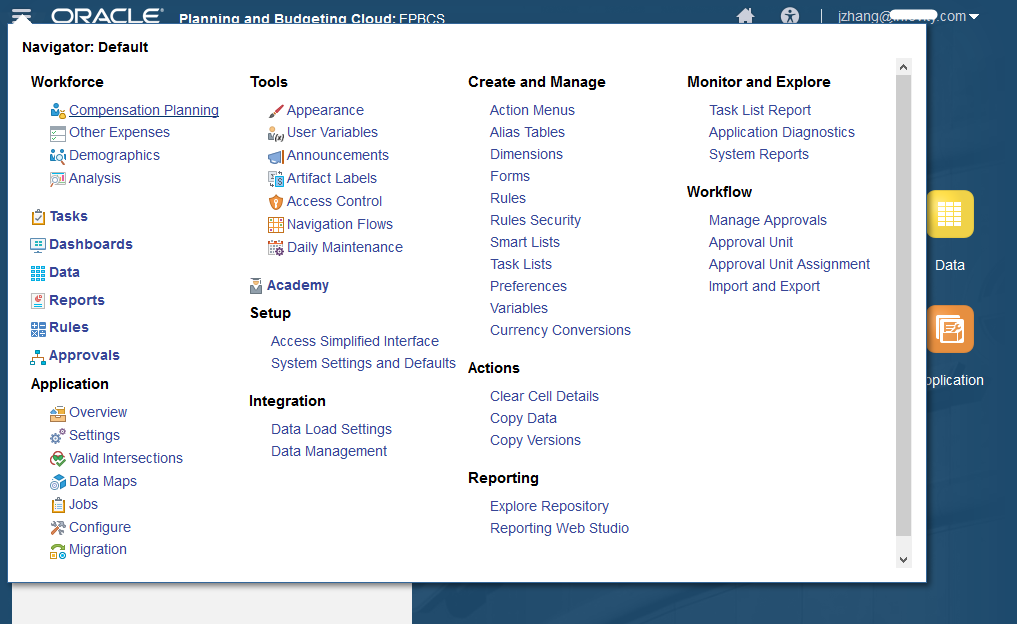
Let’s check the Navigator first.
Then take a look at the dimensions. we see there are 3 new cubes, OEP_WFP, OEP_WFSC and OEP_REP, have been created.
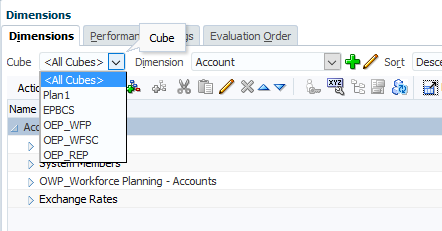
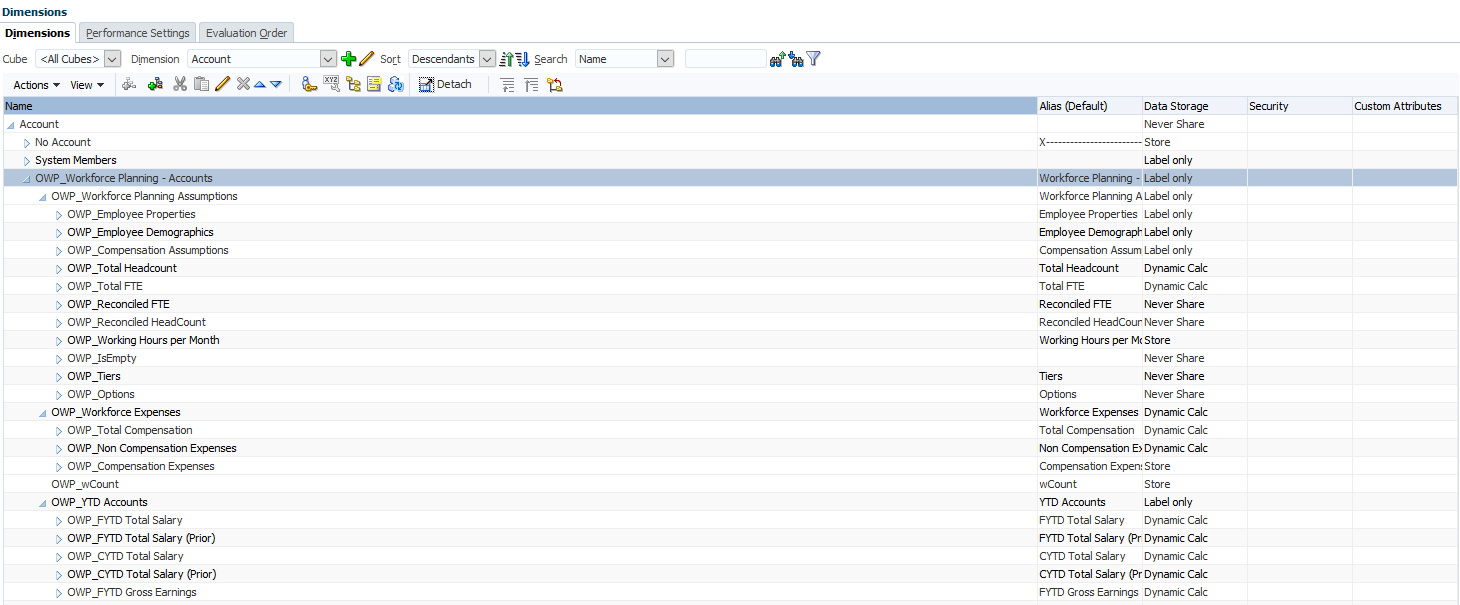
Take a look at the dimensions.
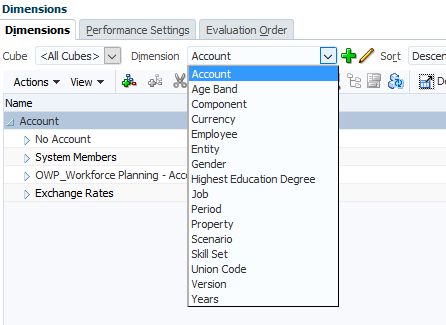
This is the account dimension.
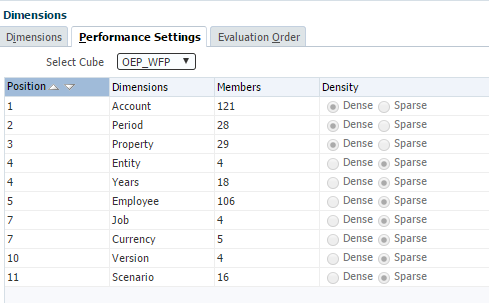
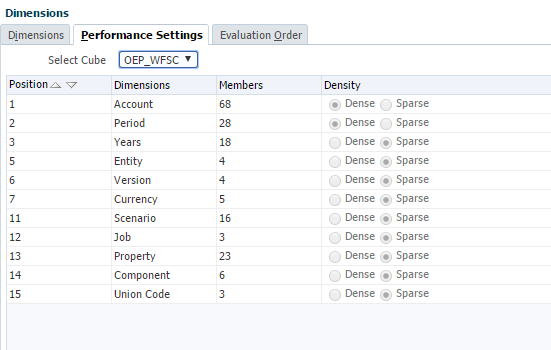
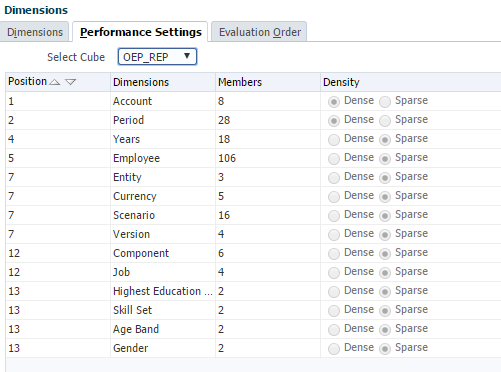
Performance Settings gives us a clear picture on how many dimensions and members have been created in the new cubes.
OEP_WFP cube:
OEP_WFSC cube:
OEP_REP cube:
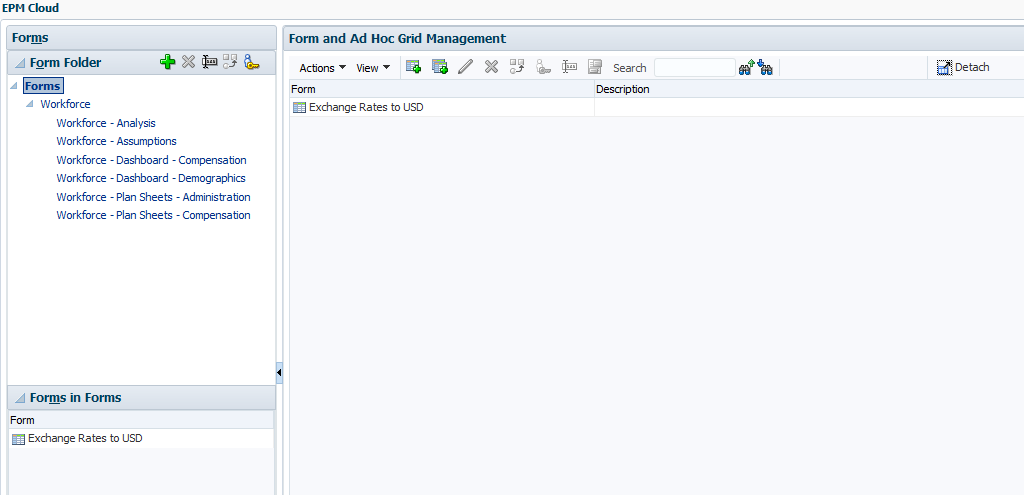
Also, there are many webforms that have been created after we enabled the Workforce framework.
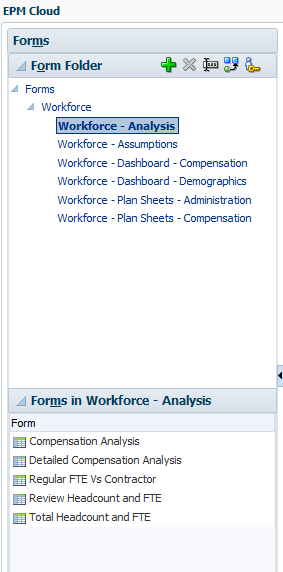
Workforce – Analysis folder:
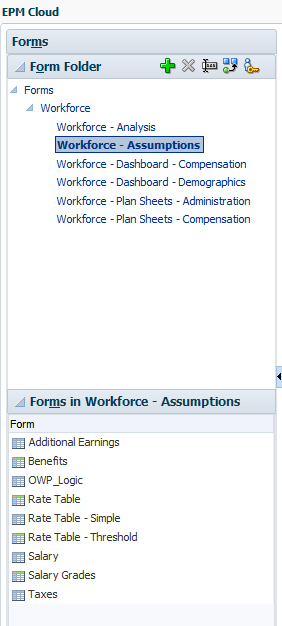
Workforce – Assumptions folder:
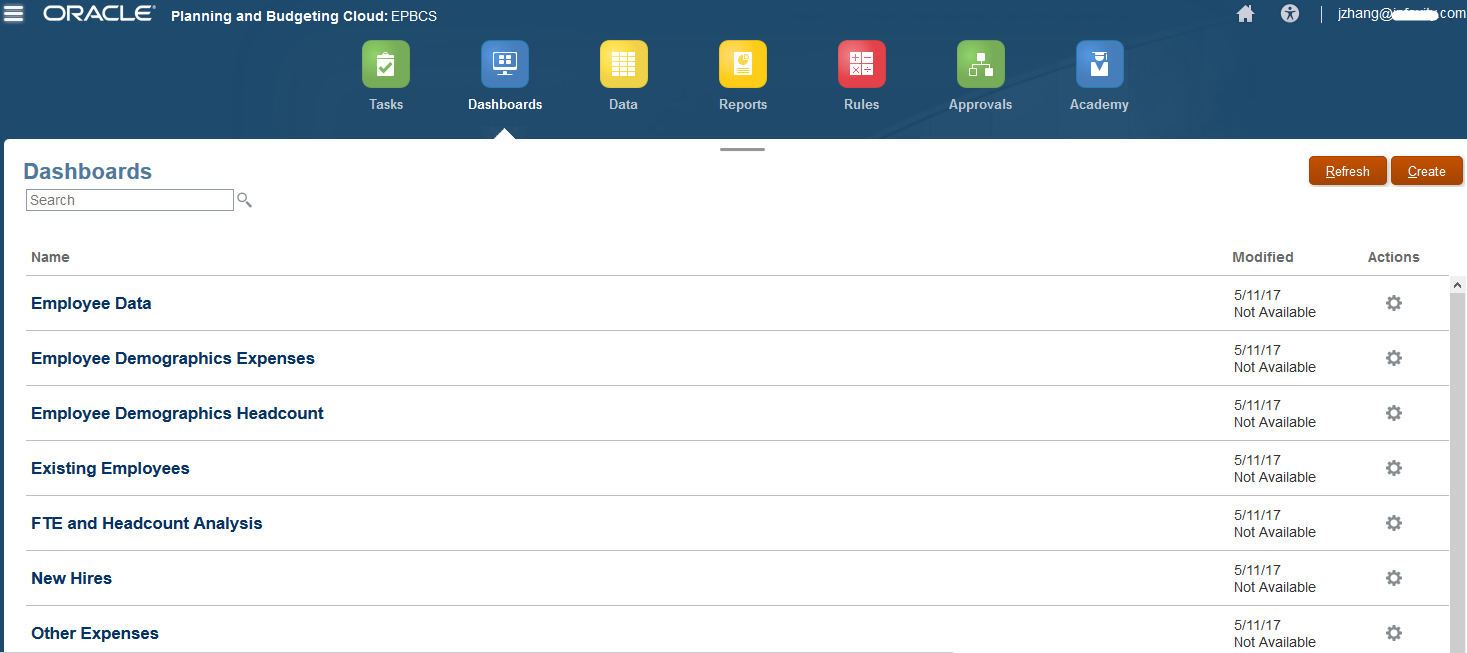
Dashboards are available for future use.
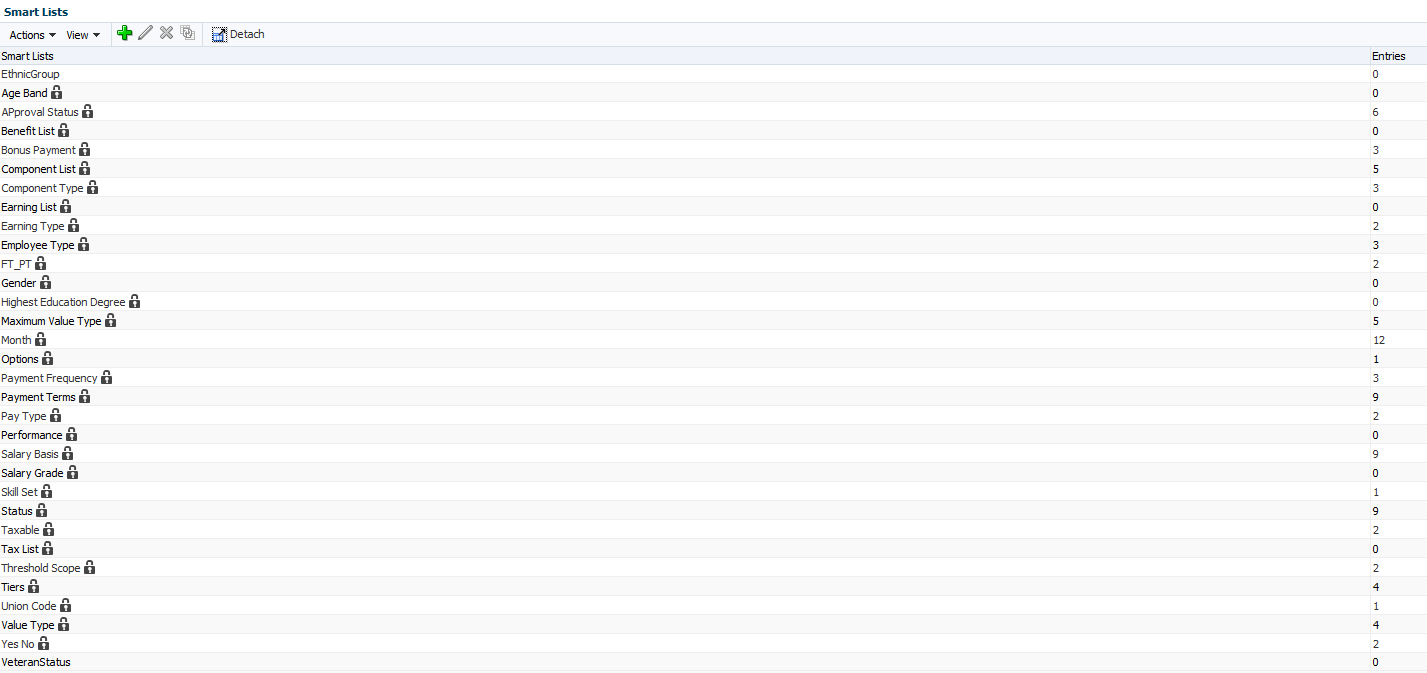
The Smart Lists have been created.
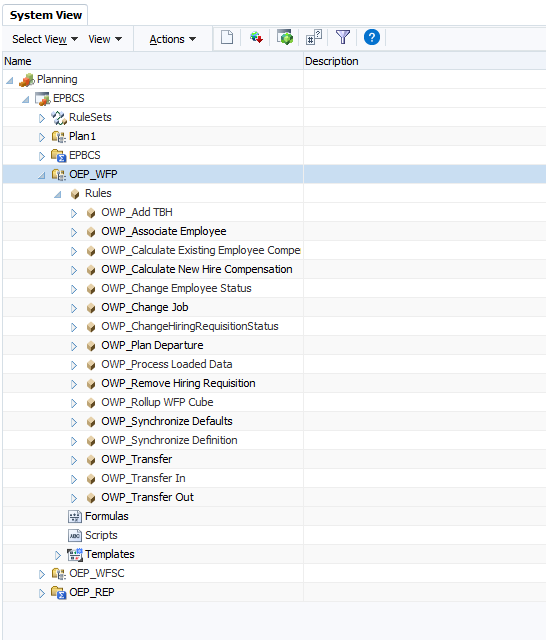
These are the business rules for the OEP_WFP cube.
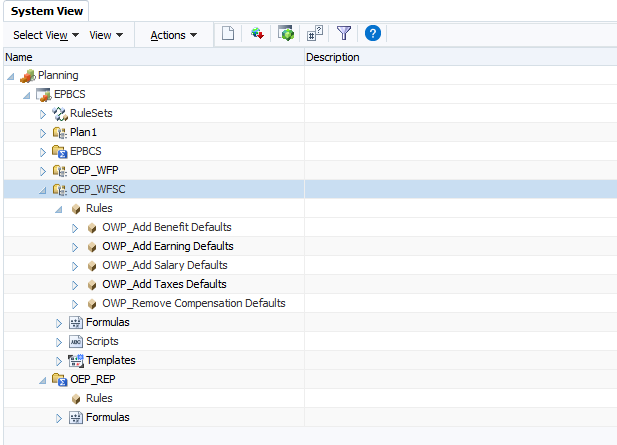
Business rules for the OEP_WFSC cube, and no Business Rules for the OEP_REP cube.
Using Workforce
After successfully enabled the Workforce framework, let’s see how to use this out of the box framework.
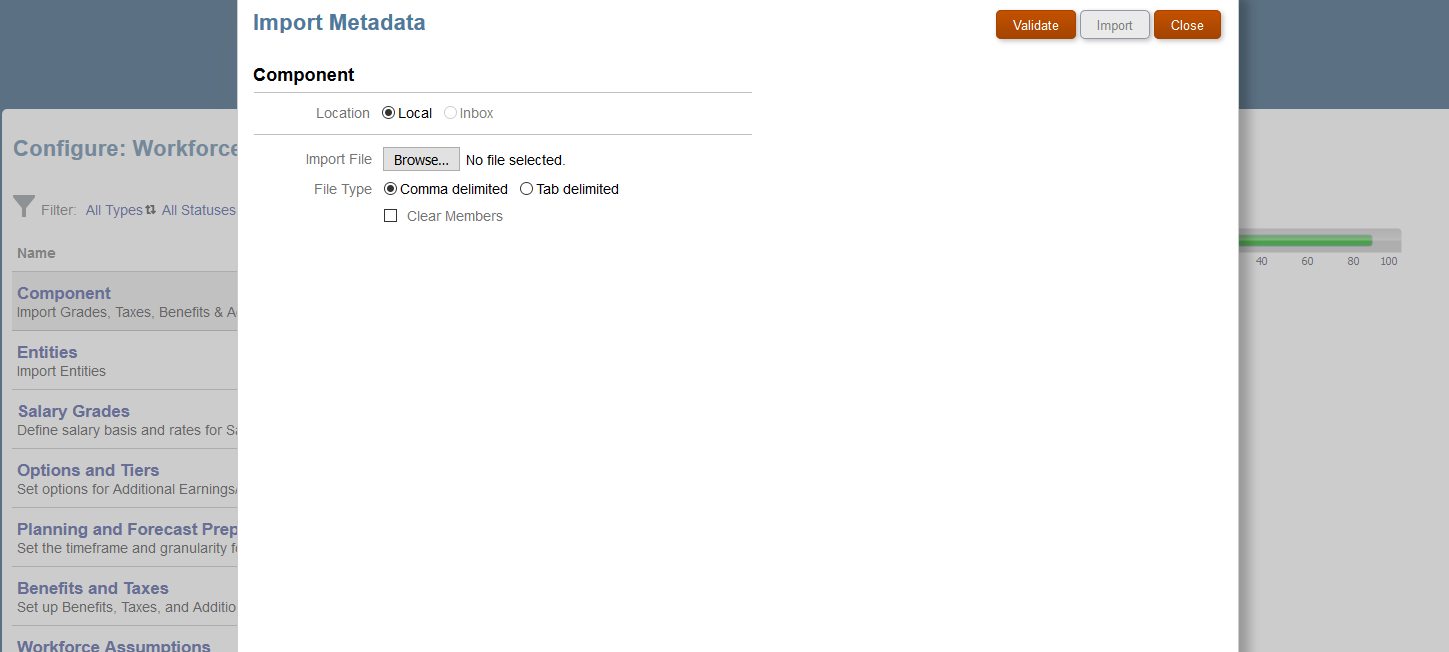
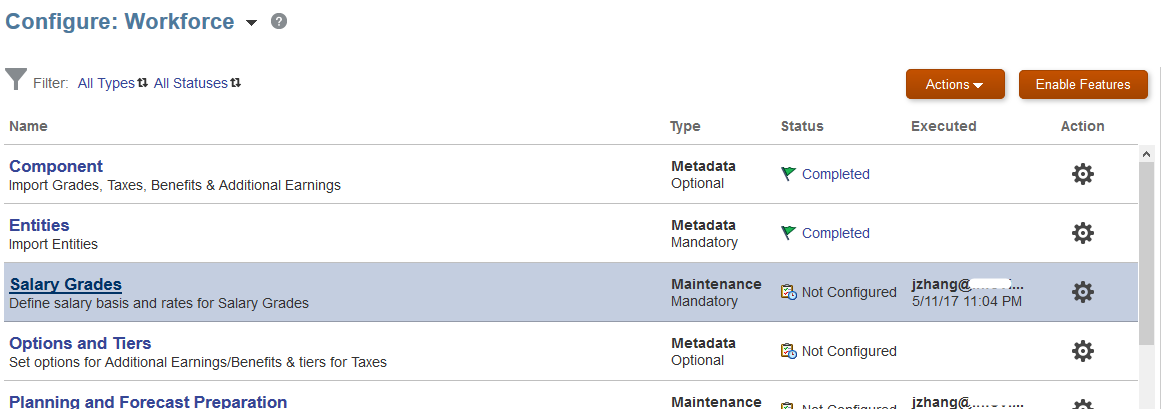
Import Metadata through configuration for Component, Entities, Employee, Job and Union Code dimensions.
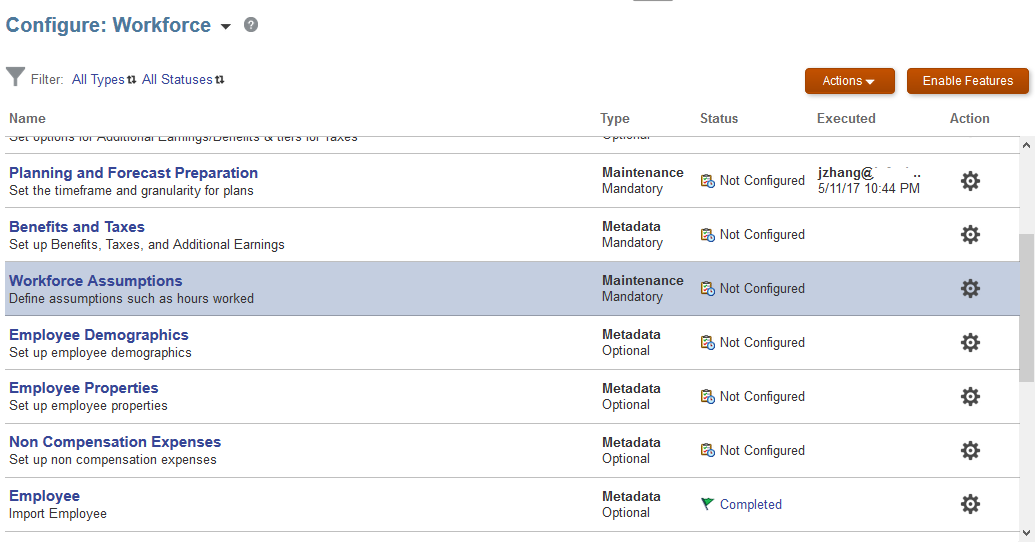
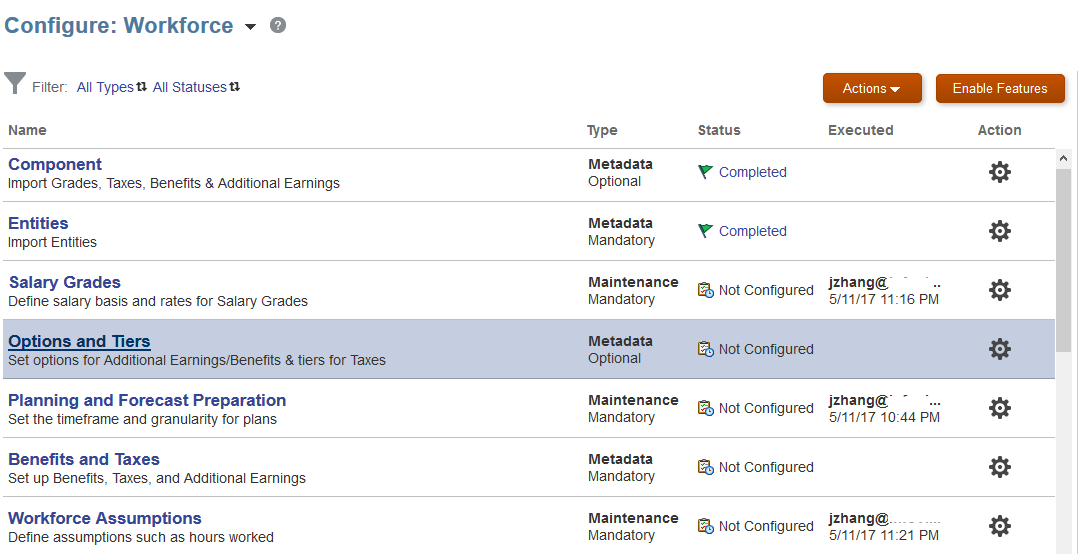
After importing these three dimensions’ metadata, we see green flags showing that the configure processes have completed.
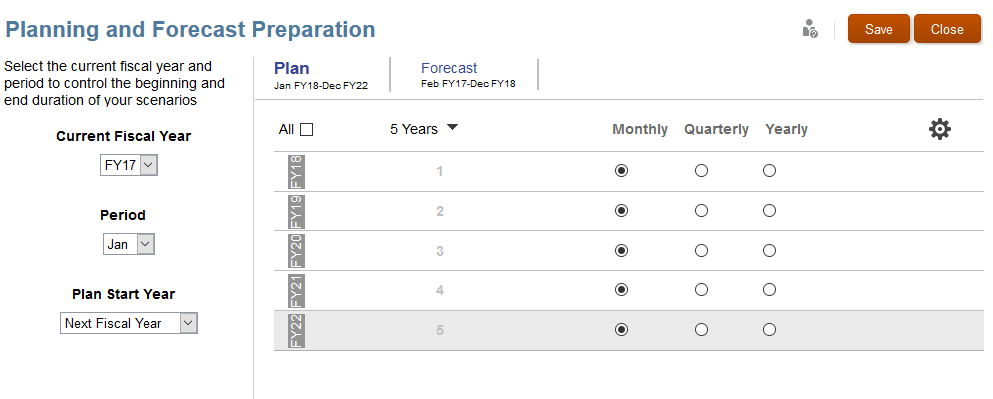
Configure Planning and Forecast Preparation
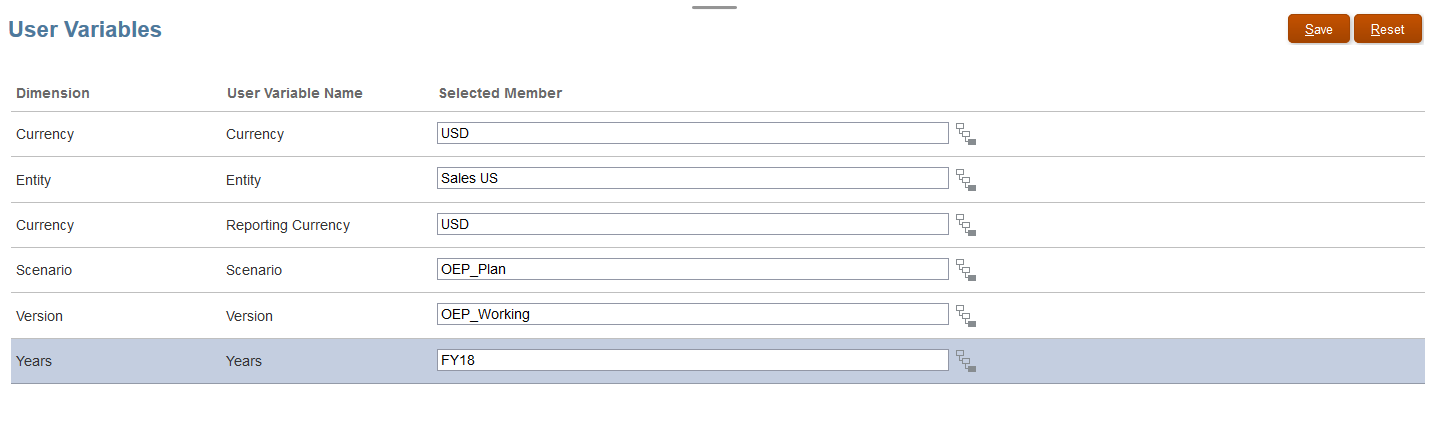
Now set the user variables.
Then we will need to refresh the database. After refreshing, we can start loading some sample data.
Firstly, let’s configure and submit data to Salary Grades.
We will enter the following values for the Salary Grades for testing purpose.

Configure and submit data to Workforce Assumptions.
Enter the following values for Workforce Assumptions.

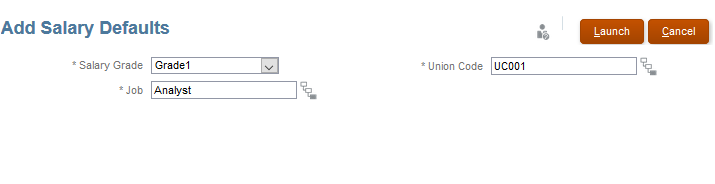
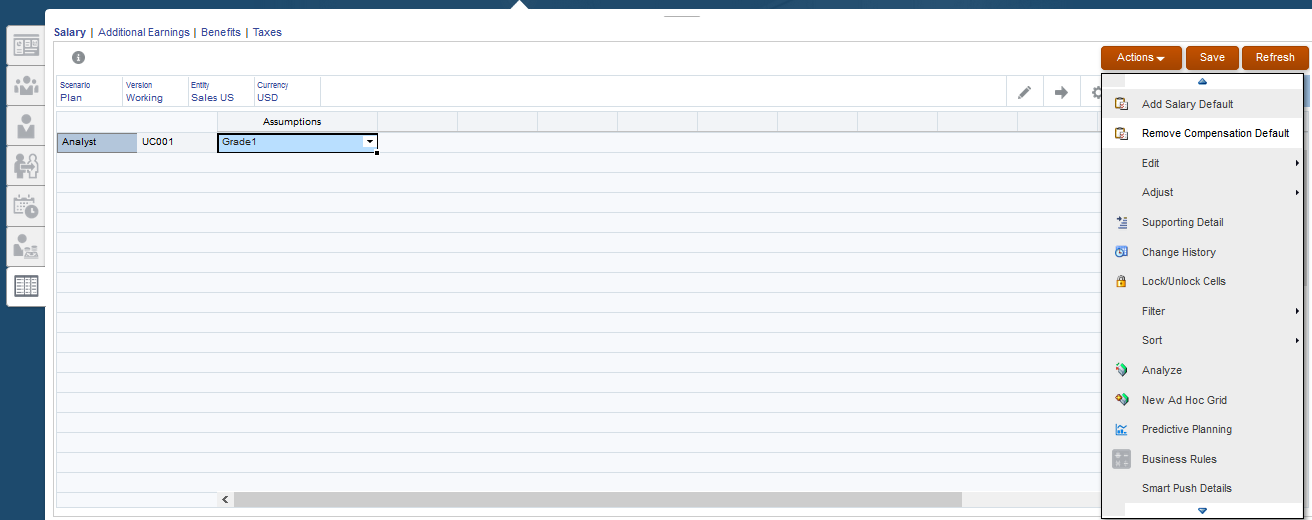
Assign Defaults for New Hire Salary.
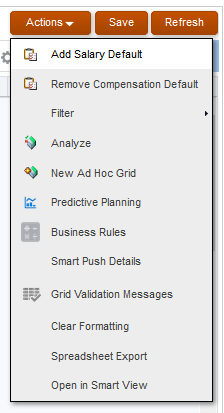
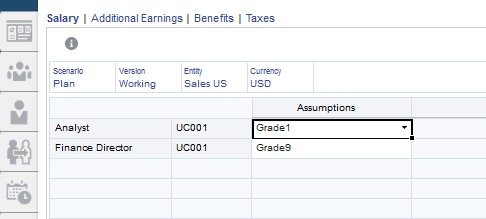
Select POV for salary defaults. Let’s create one for Analyst.
If we made a mistake with the Default assignment of Job or Union Code, we could highlight the row, click Actions, and select Remove Compensation Default.
Let’s create another one for Finance Director.
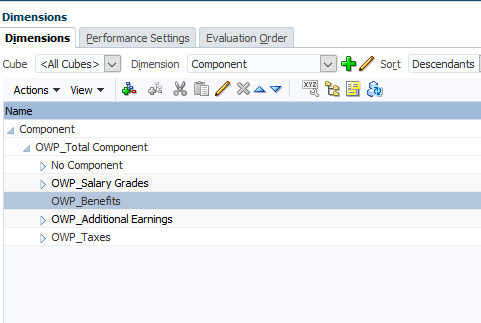
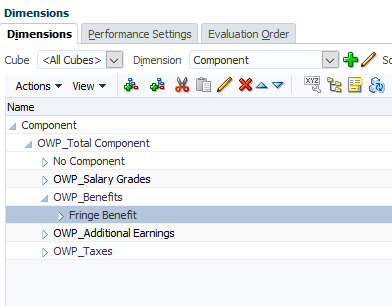
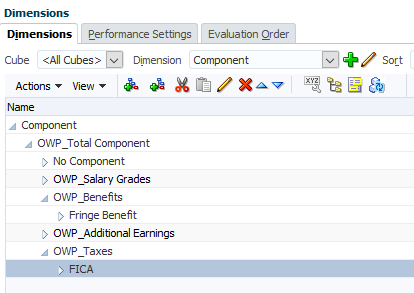
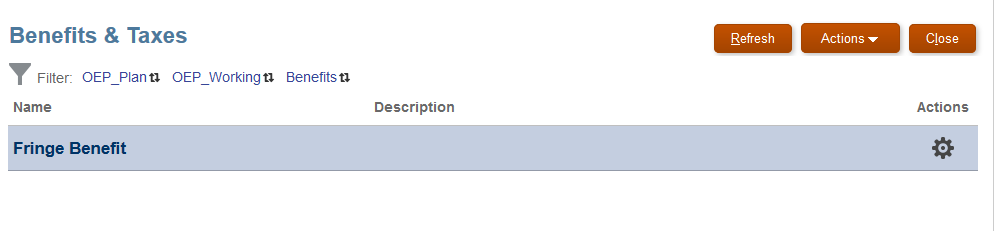
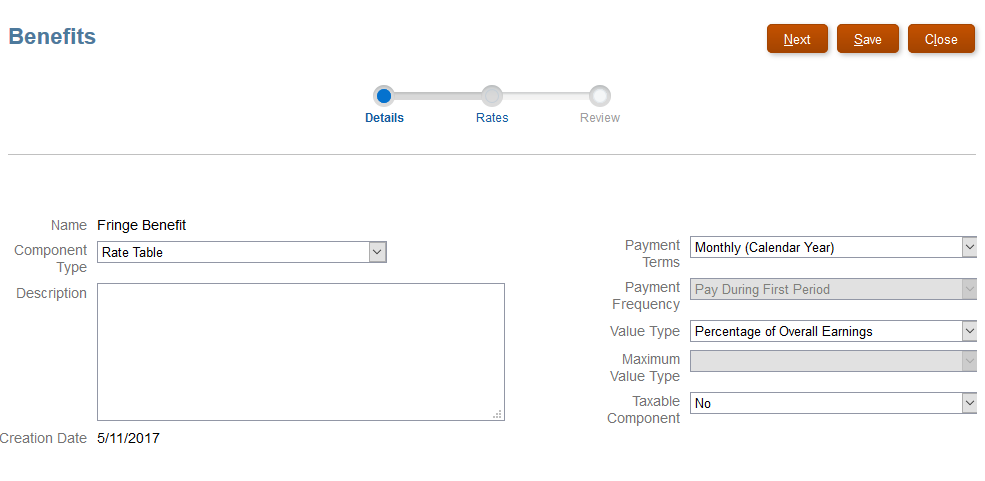
Create a new Benefit: Fringe Benefit
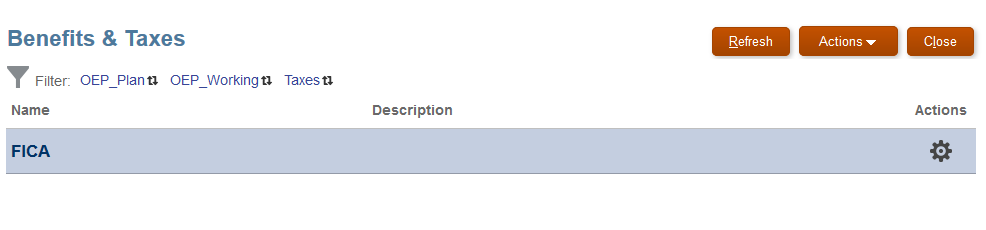
Create a new Tax: FICA
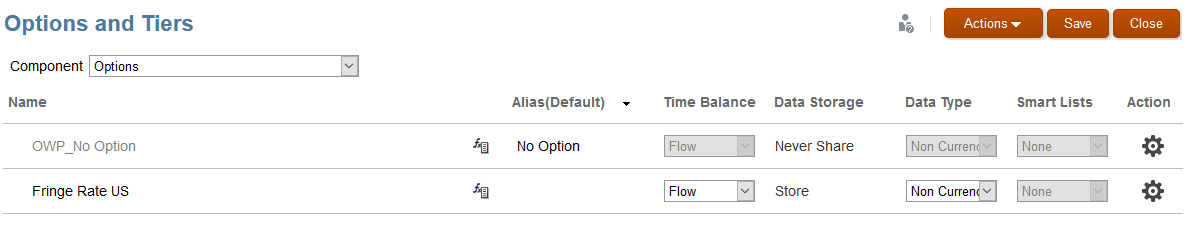
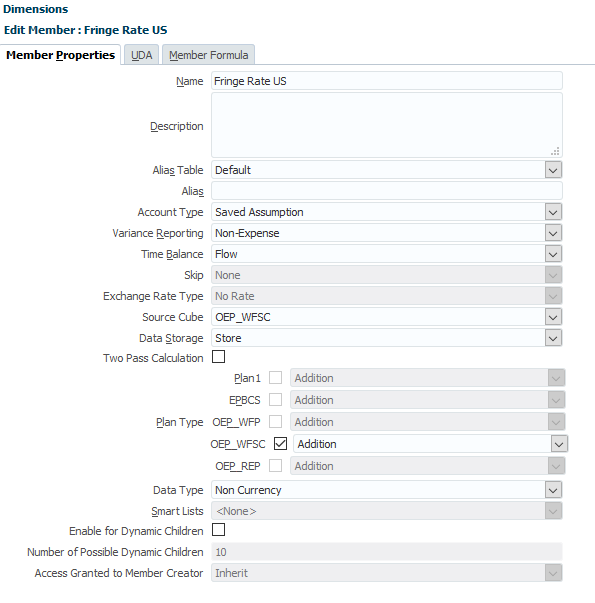
Configure Options and Tiers, and add a Fringe Rate.
Add Fringe Rate US to Options.

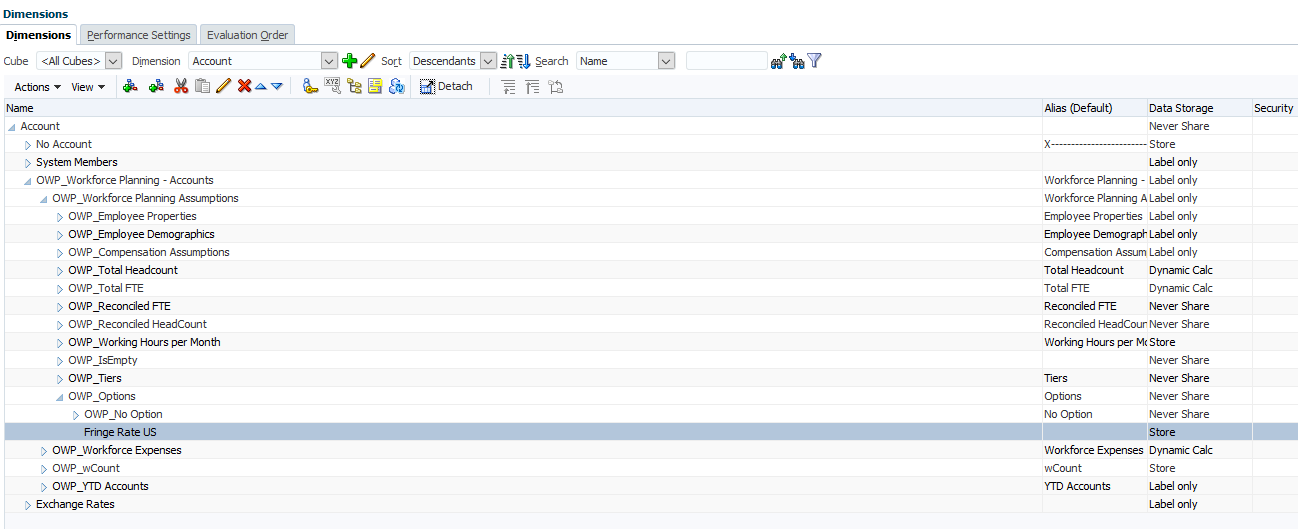
Go back to dimension, we see this new member has been added to OWP_Options
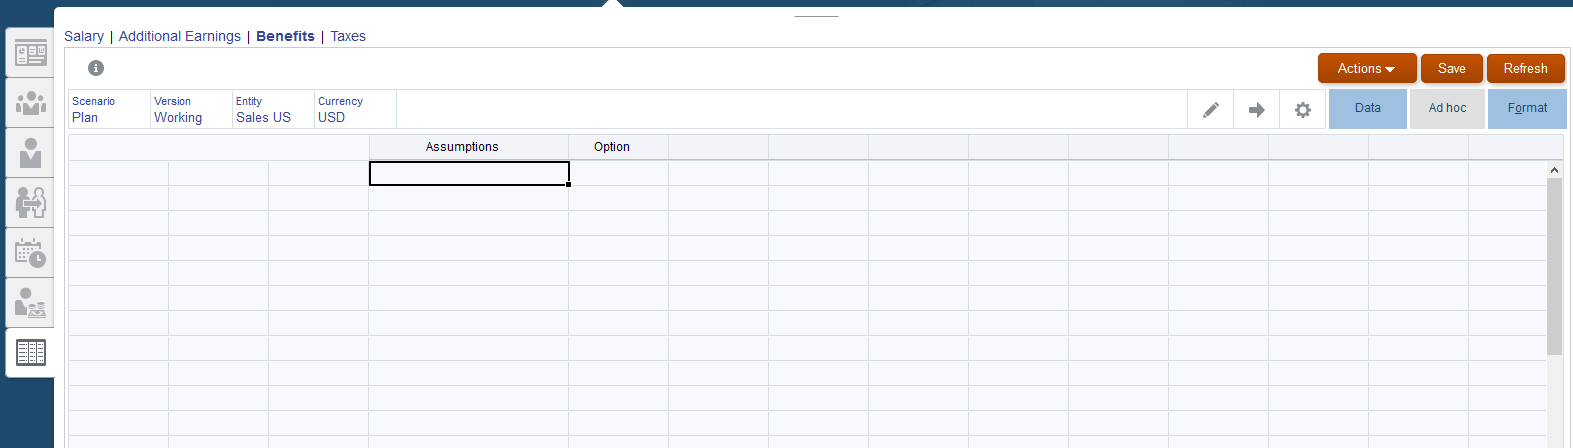
We have created a new Benefits and a Tax. Now let’s configure the logic for these new Components.
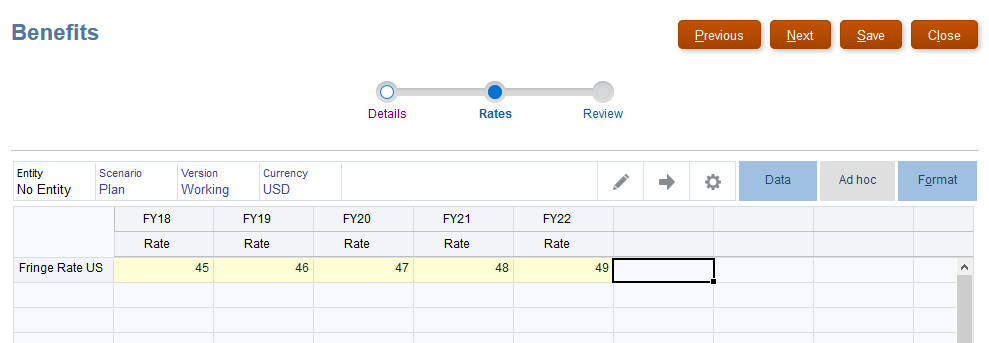
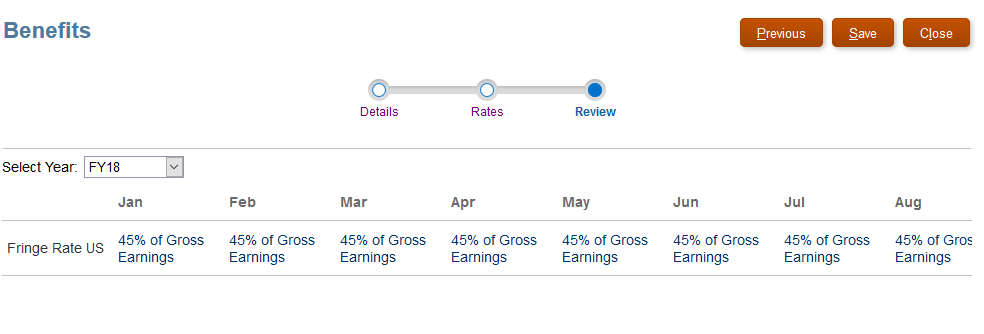
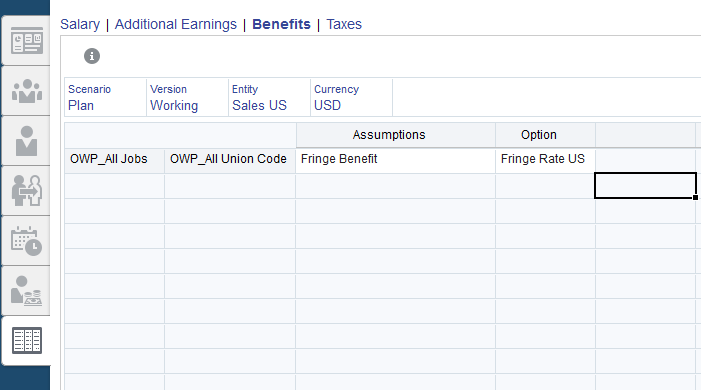
Benefits:
Input sample data to Fringe Rate US.
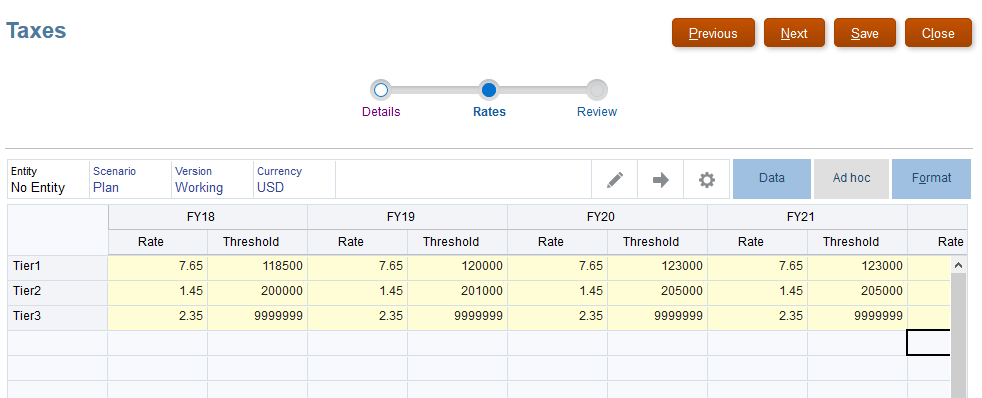
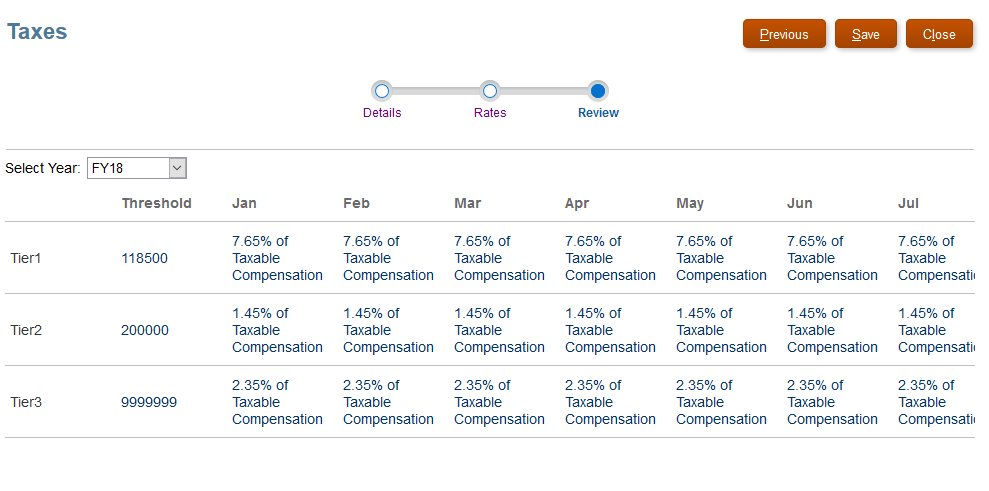
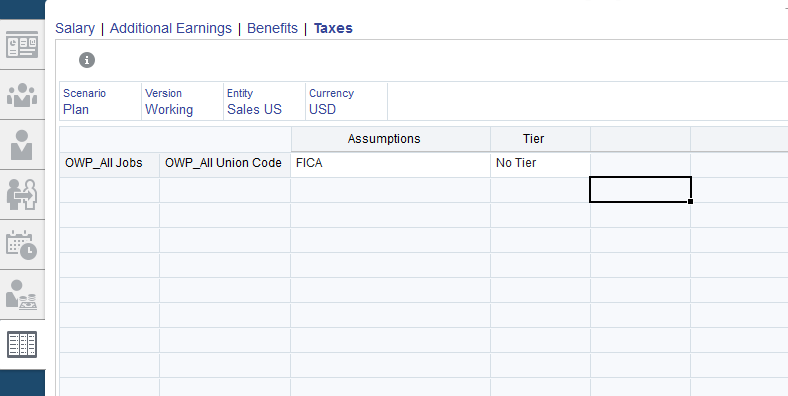
Taxes:
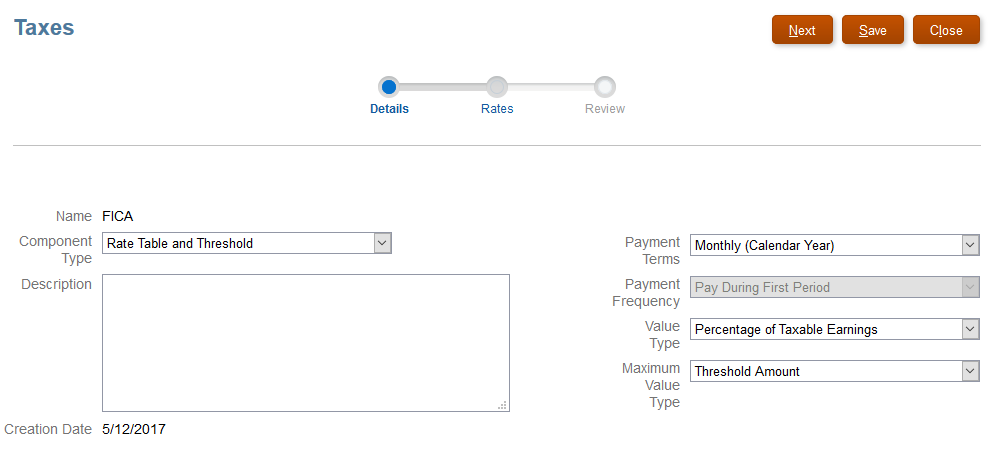
Input sample data for Rate and Threshold.
Then assign Defaults for Benefits and Tax.
Benefit:

Taxes:

Till now, we have enabled, configured, and assigned defaults for a new Benefit and a new Tax.
Add New Hire Requisitions
Now we are going to see the financial impact of these components on New Hire Requisitions. We will add a New Hiring Requisition to satisfy these different defaults.
Go to the New Hires Tab.
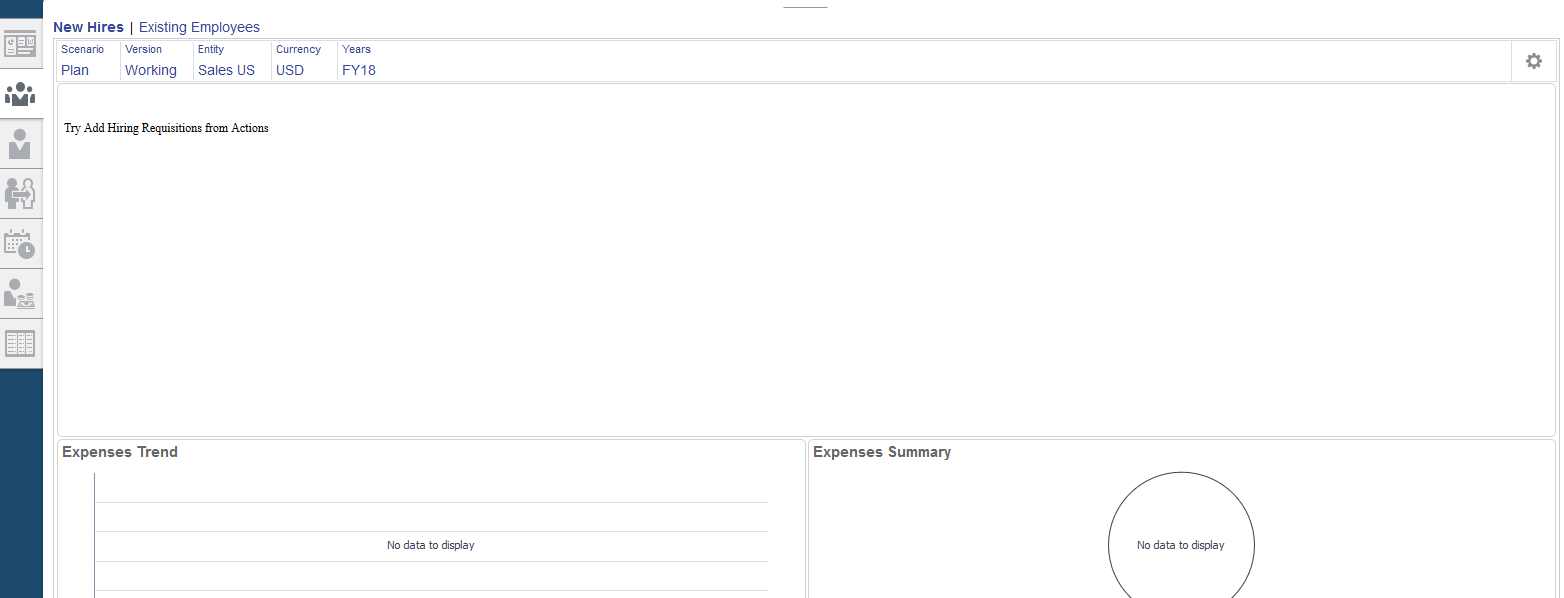
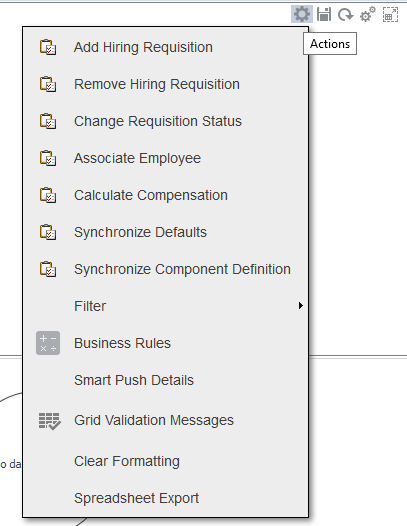
Click the Actions gear, and then select Add Hiring Requisition.
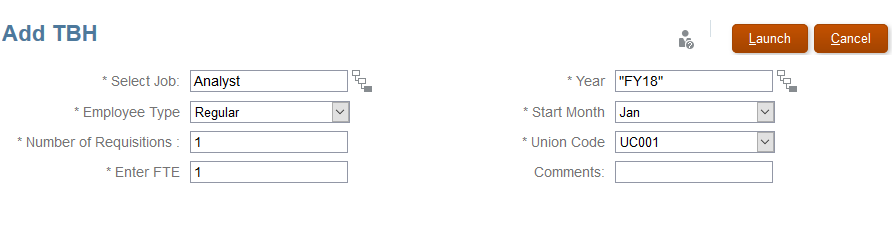
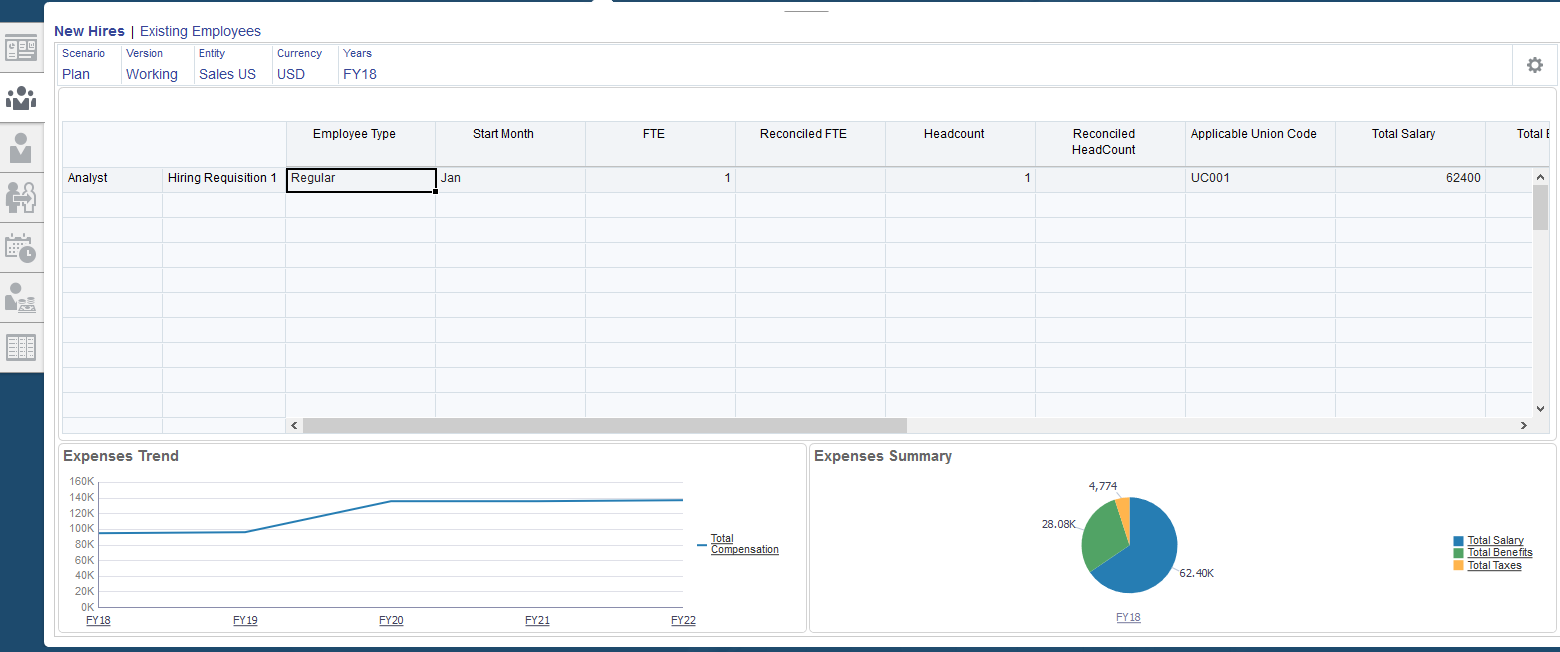
Check the Employee Details
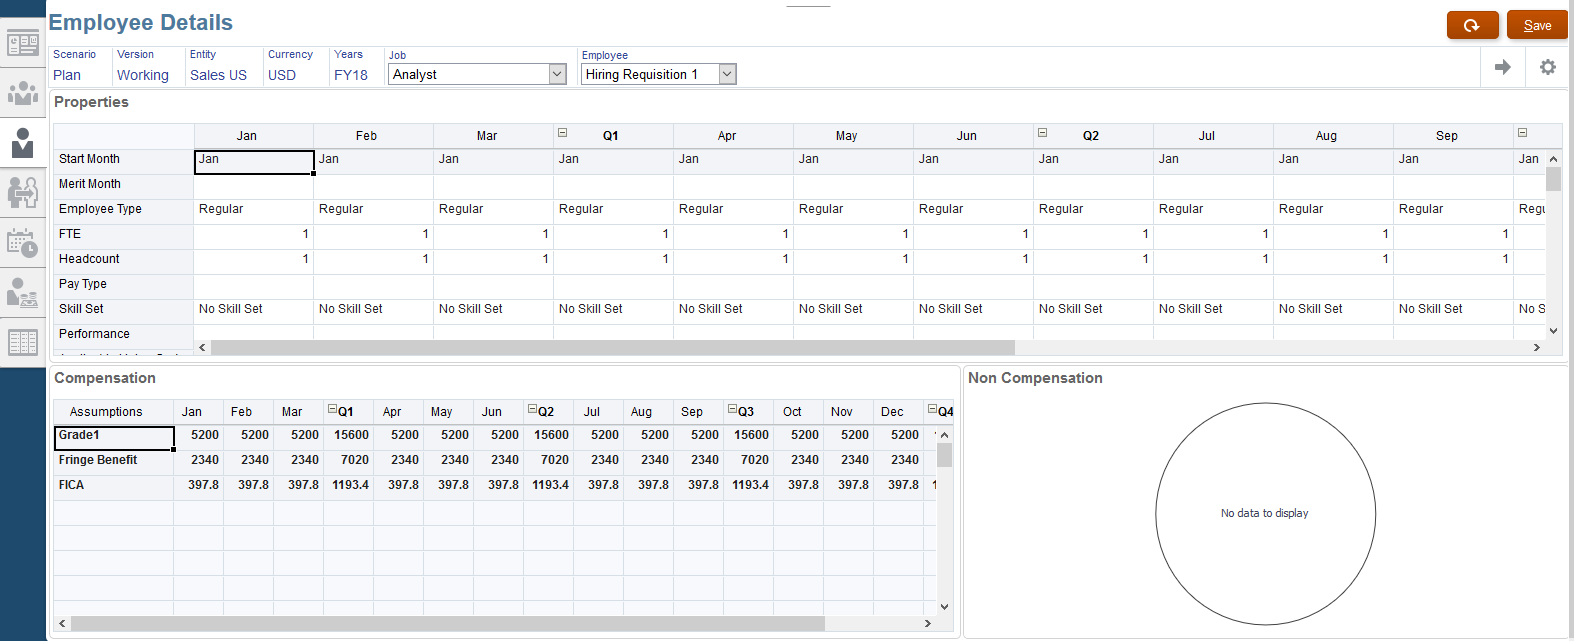
Let’s take a look at the logic behind the numbers.
Grade1 Salary has been calculated by:
$30/hour * 40 hours/week * 52 weeks/year = $62,400.
Monthly amount: $62,400 / 12 = $5,200
Fringe Benefit:
45% * Overall Earnings ($62,400) = $28,080
Monthly amount: $28,080 / 12 = $2,340
FICA:
7.65% * $62,400 = $4,773.60
Monthly amount: $4,773.60/ 12 = $397.8
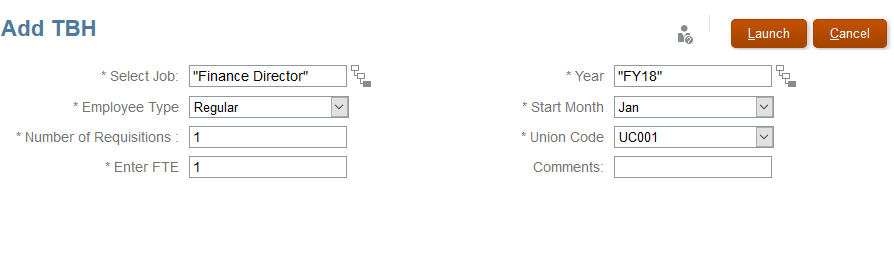
Then add Finance Director New Hire Requisition
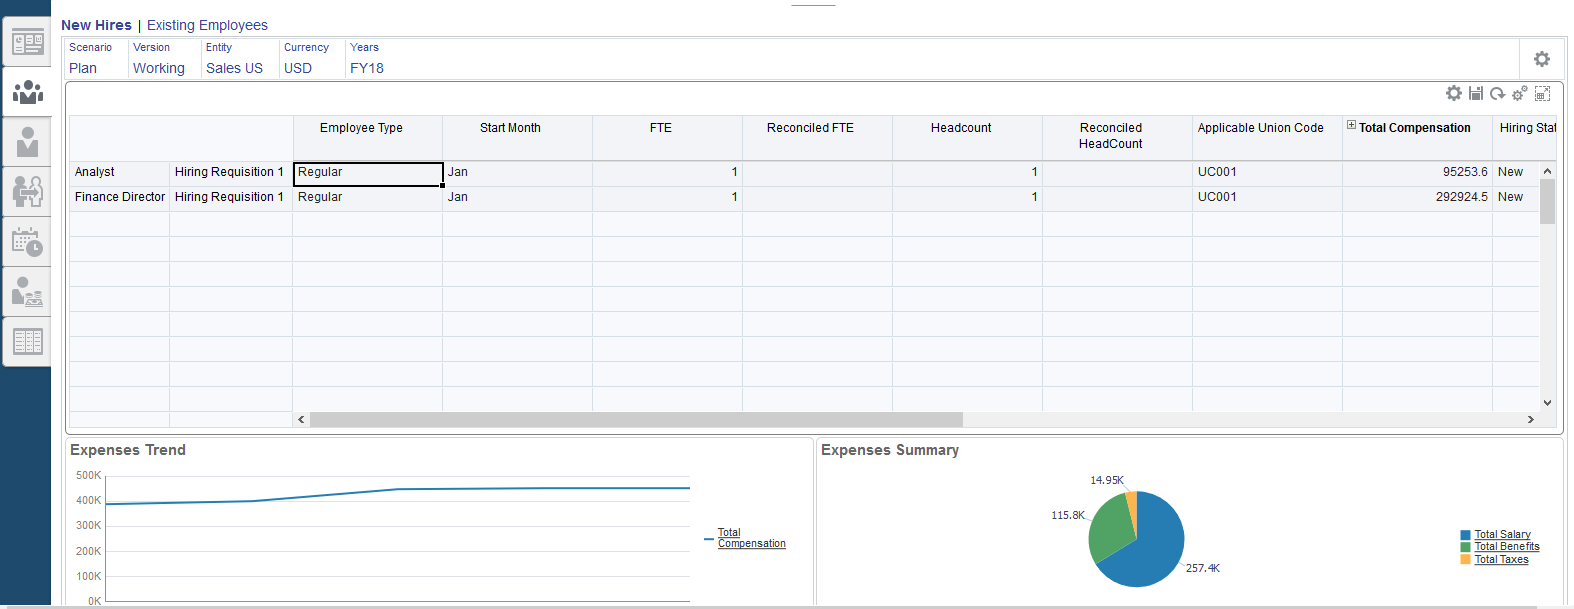
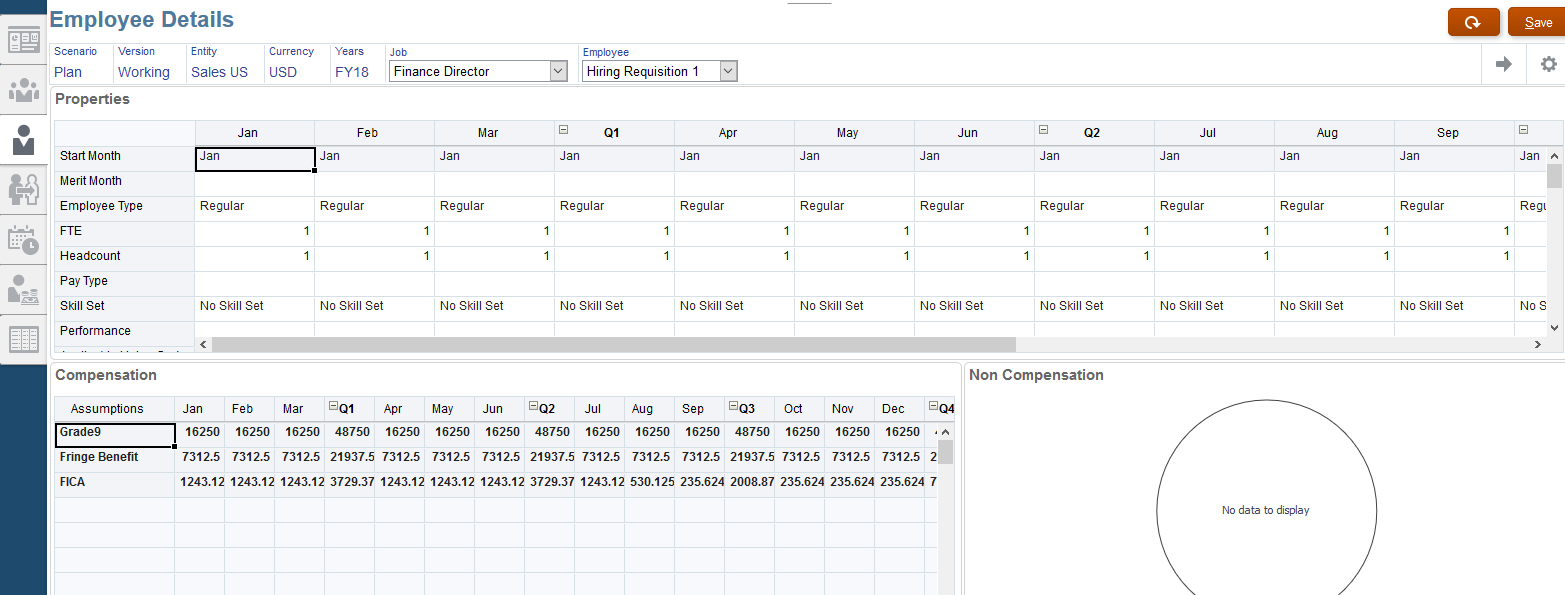
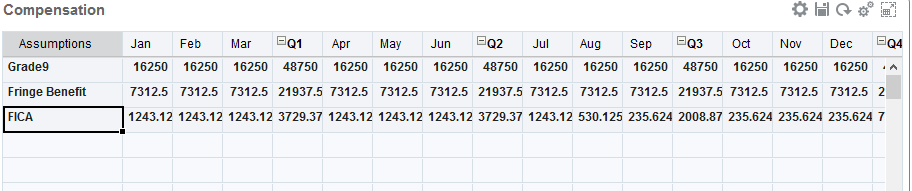
The first FICA threshold of $118,500 is crossed in August, so the FICA decreases in August with the overlapping Tiers then further decreases in September as the next Tier is fully applied.
Lastly, let’s view all the cards and tabs that have been created after we configured the Workforce framework.
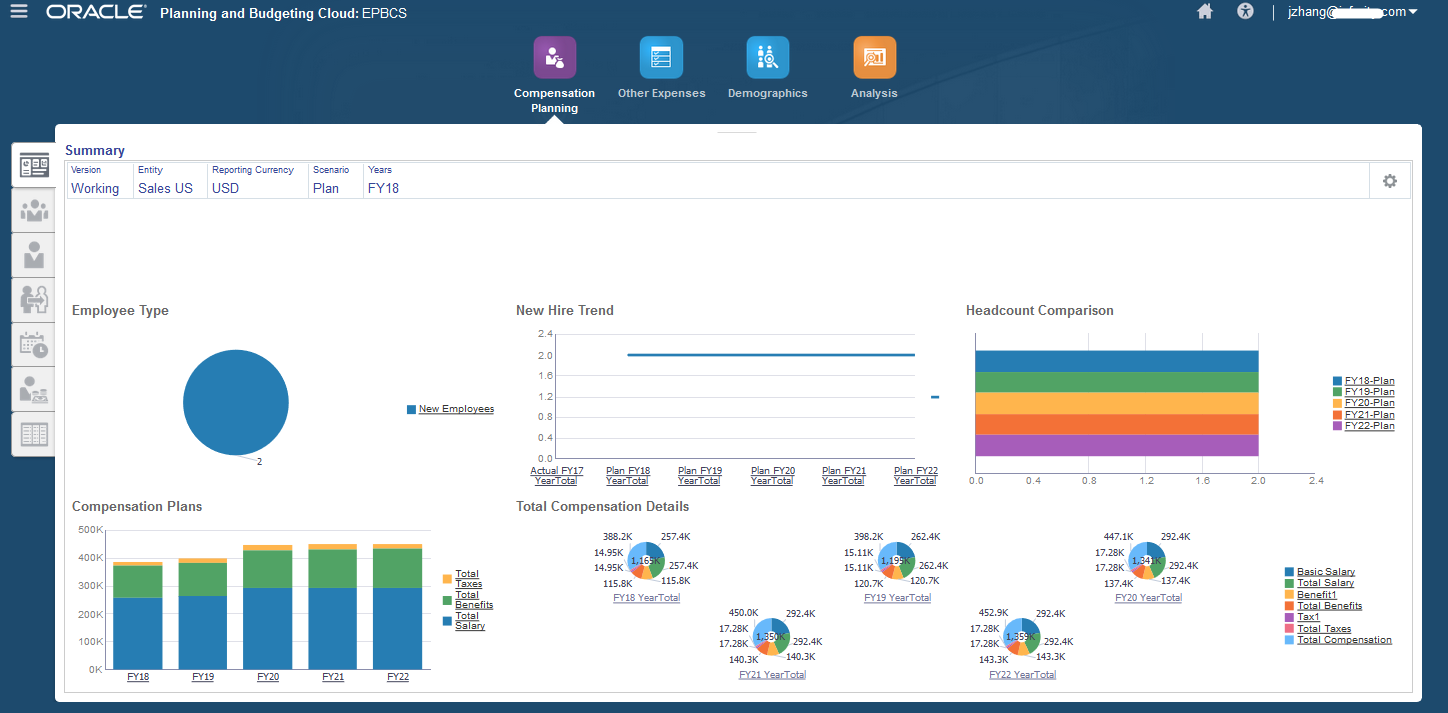
The Compensation Planning Card has 7 pages, which are:
Overview, Manage Employees, Employee Details, Transfers, Assumptions, Salary Grades, and Defaults.
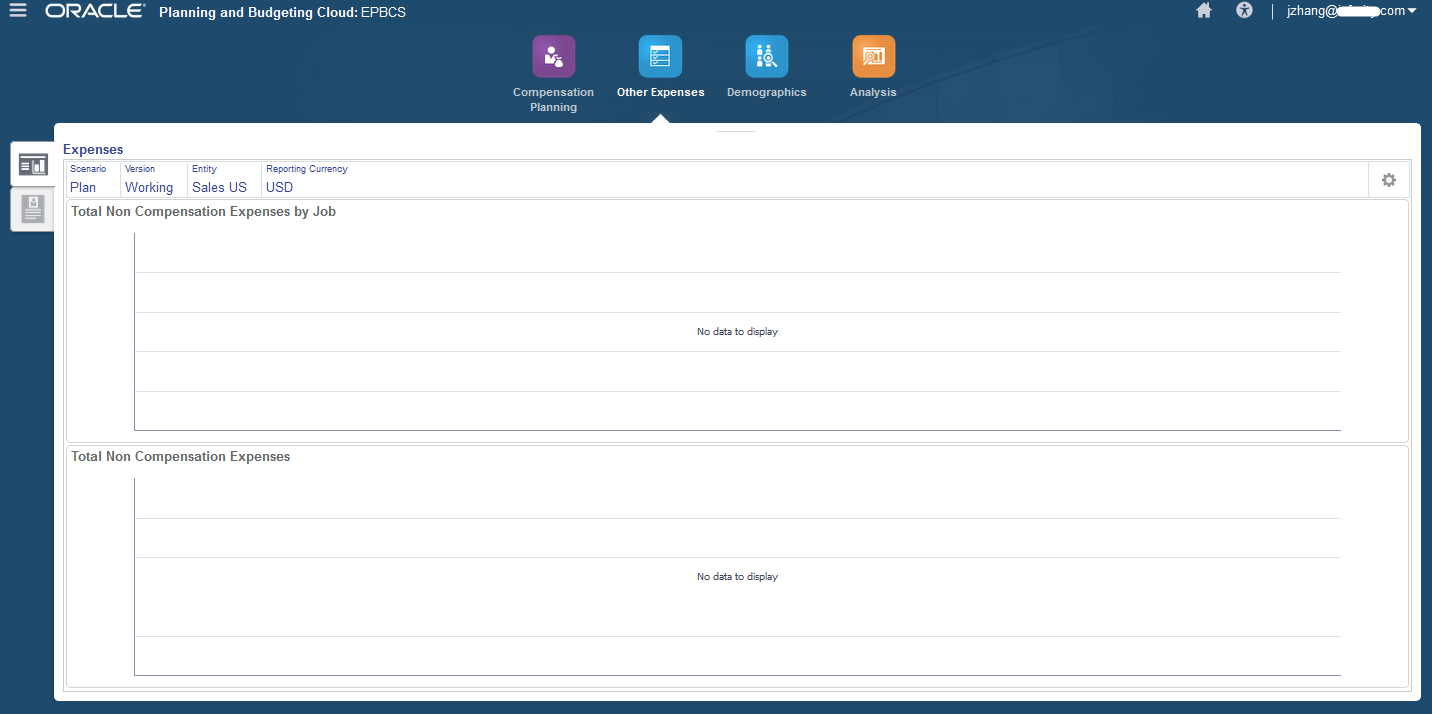
The Other Expenses card has 2 pages, which are:
Summary, and Non Compensation Expenses
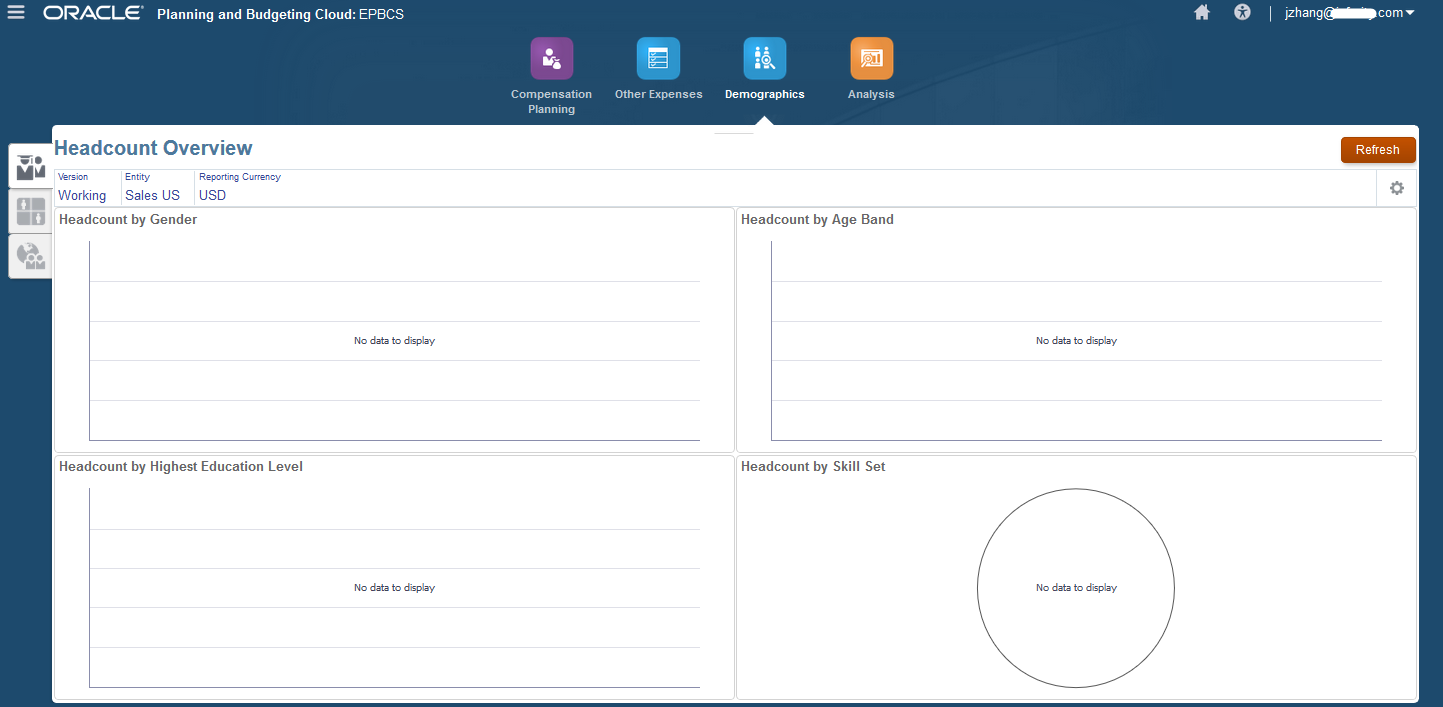
The Demographics card has 3 pages, which are:
Headcount Overview, Workforce Expense Overview, and Employee Demographics
The Analysis card has 3 pages, which are:
FTE and Headcount Analysis, Total Compensation Analysis, and Skill Set Analysis

As of now, we already went through how to configure the Workforce prebuilt framework, and how to use this Workforce framework to finish the planning and budgeting process. There are many other details and tricks that I don’t have a chance to point out. But I will definitely share more tricks with you in the future blogs. Hopefully, this one could give you some high-level ideas on what the Workforce framework is.
In the next blogs, I will discuss the other frameworks, including Capital, Projects and Strategic Modeling. Until next time.
Spot on with this write-up, I truly think this website needs much more consideration. I’ll probably be again to read much more, thanks for that info.
Excellent information took me out of trouble. Keep it up.